Doll Accessories Crochet Patterns
-
Summer Bag Crochet Pattern for American Girl and 18″ Dolls

Crochet a “straw” like summer bag for your doll. Add tassels or poms to dress it up if desired. Skill level: Easy, knowledge of basic crochet stitches and working in the round. *For the FREE version of this pattern, continue to scroll down this post* **You can purchase the ad-free, printer friendly version of this…
-
Rag Doll Crochet Pattern for 18″ Dolls

Inspired by Kirsten’s beloved doll, Sari, crochet your own miniature pioneer rag doll for your doll to love. *For the FREE version of this pattern, continue to scroll down this post.* **You can purchase the ad-free, printer friendly version by clicking here: https://www.etsy.com/listing/1183165378/pdf-crochet-pattern-rag-doll-for-18** ***To view all crochet patterns available in my shop, click here: https://www.etsy.com/shop/CrownCountryCrochet***…
-
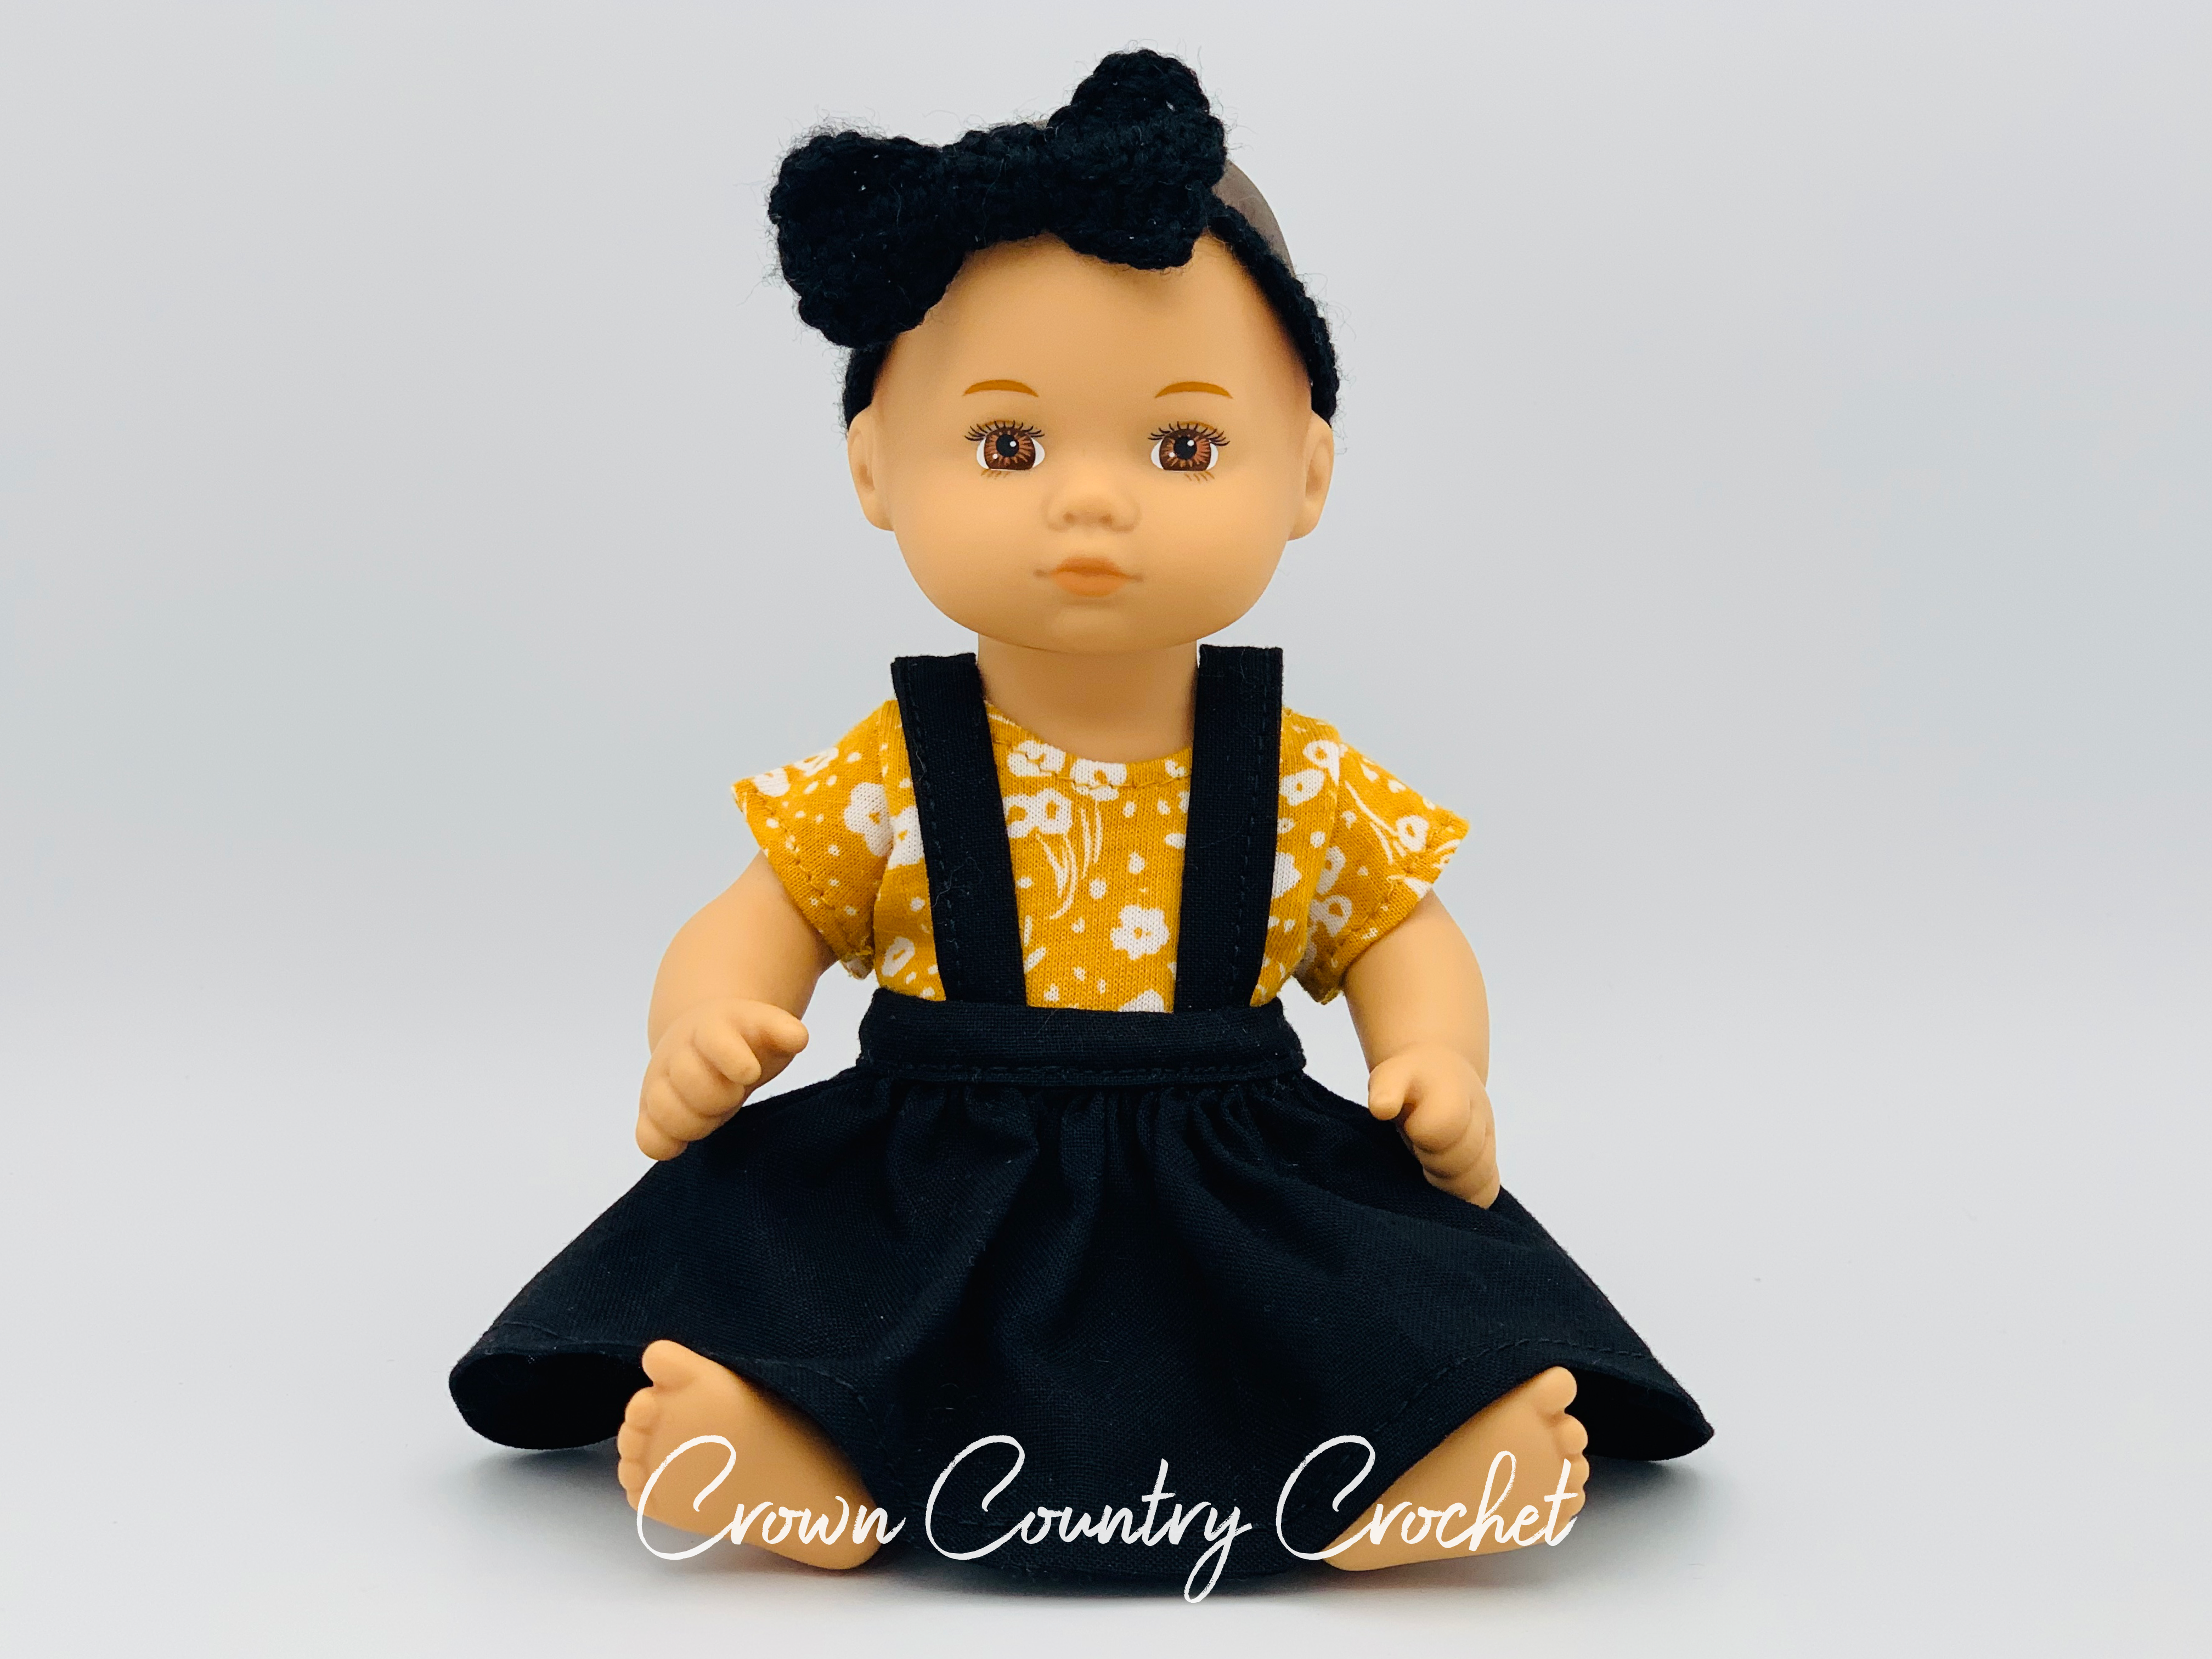
Baby Bow Crochet Pattern
-
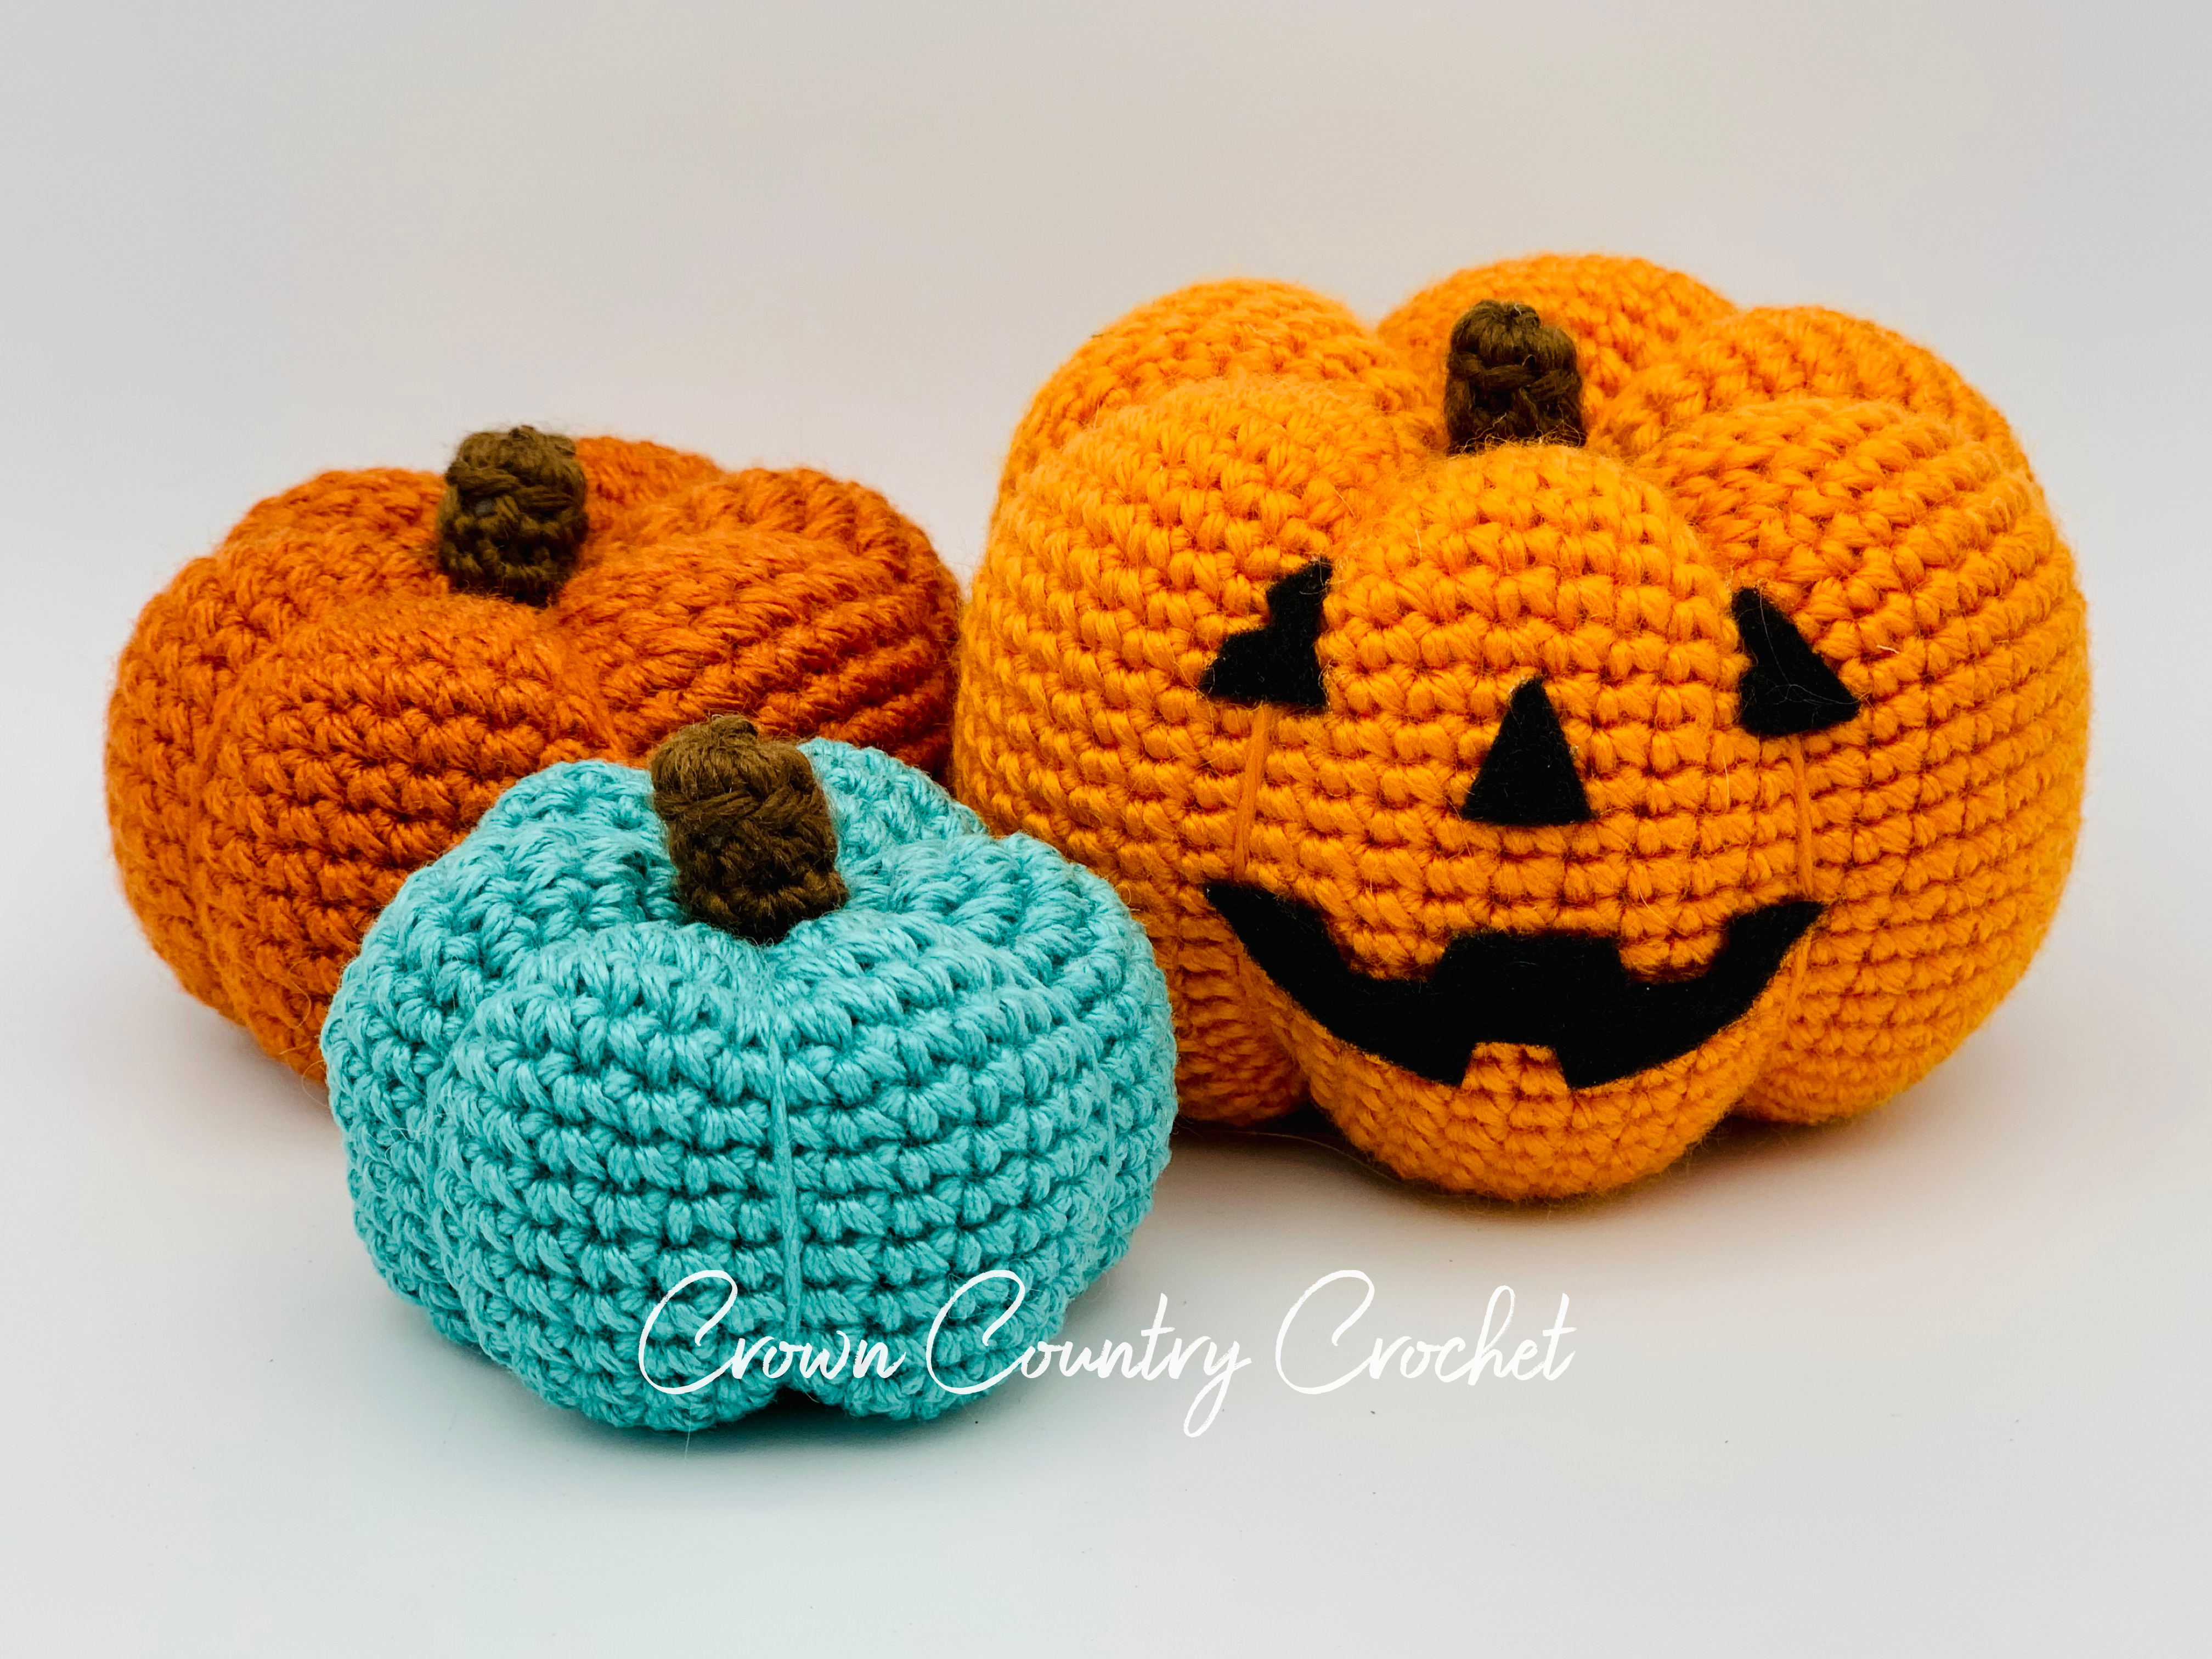
Miniature Pumpkins Crochet Pattern
-
Sockor Slippers

Free Crochet Pattern for American Girl and 18″ Dolls. These slippers are inspired by Kirsten’s sockor slippers from her collection. Interestingly, I read that a lady in Sweden hand felted the slippers for American Girl for a decade. What you will need: #5 Bulky yarn-Knit Picks Wonderfluff 1 skein in Cobblestone Heather F (3.75 mm)…
-
Knit and Crochet Hair Ribbons
