crowncountrycrochet
-
Ruffled Romper Crochet Pattern for American Girl and 18″ Dolls

Crochet your own ruffled trim romper for your doll! Pattern is worked in continuous rounds and all in one piece. Skill level is easy. *For the FREE version of this pattern, continue to scroll down this post* **You can purchase the ad-free, printer friendly version of this pattern by clicking here: https://www.etsy.com/listing/1250272648/pdf-crochet-pattern-ruffled-romper-for** ***For my complete…
-
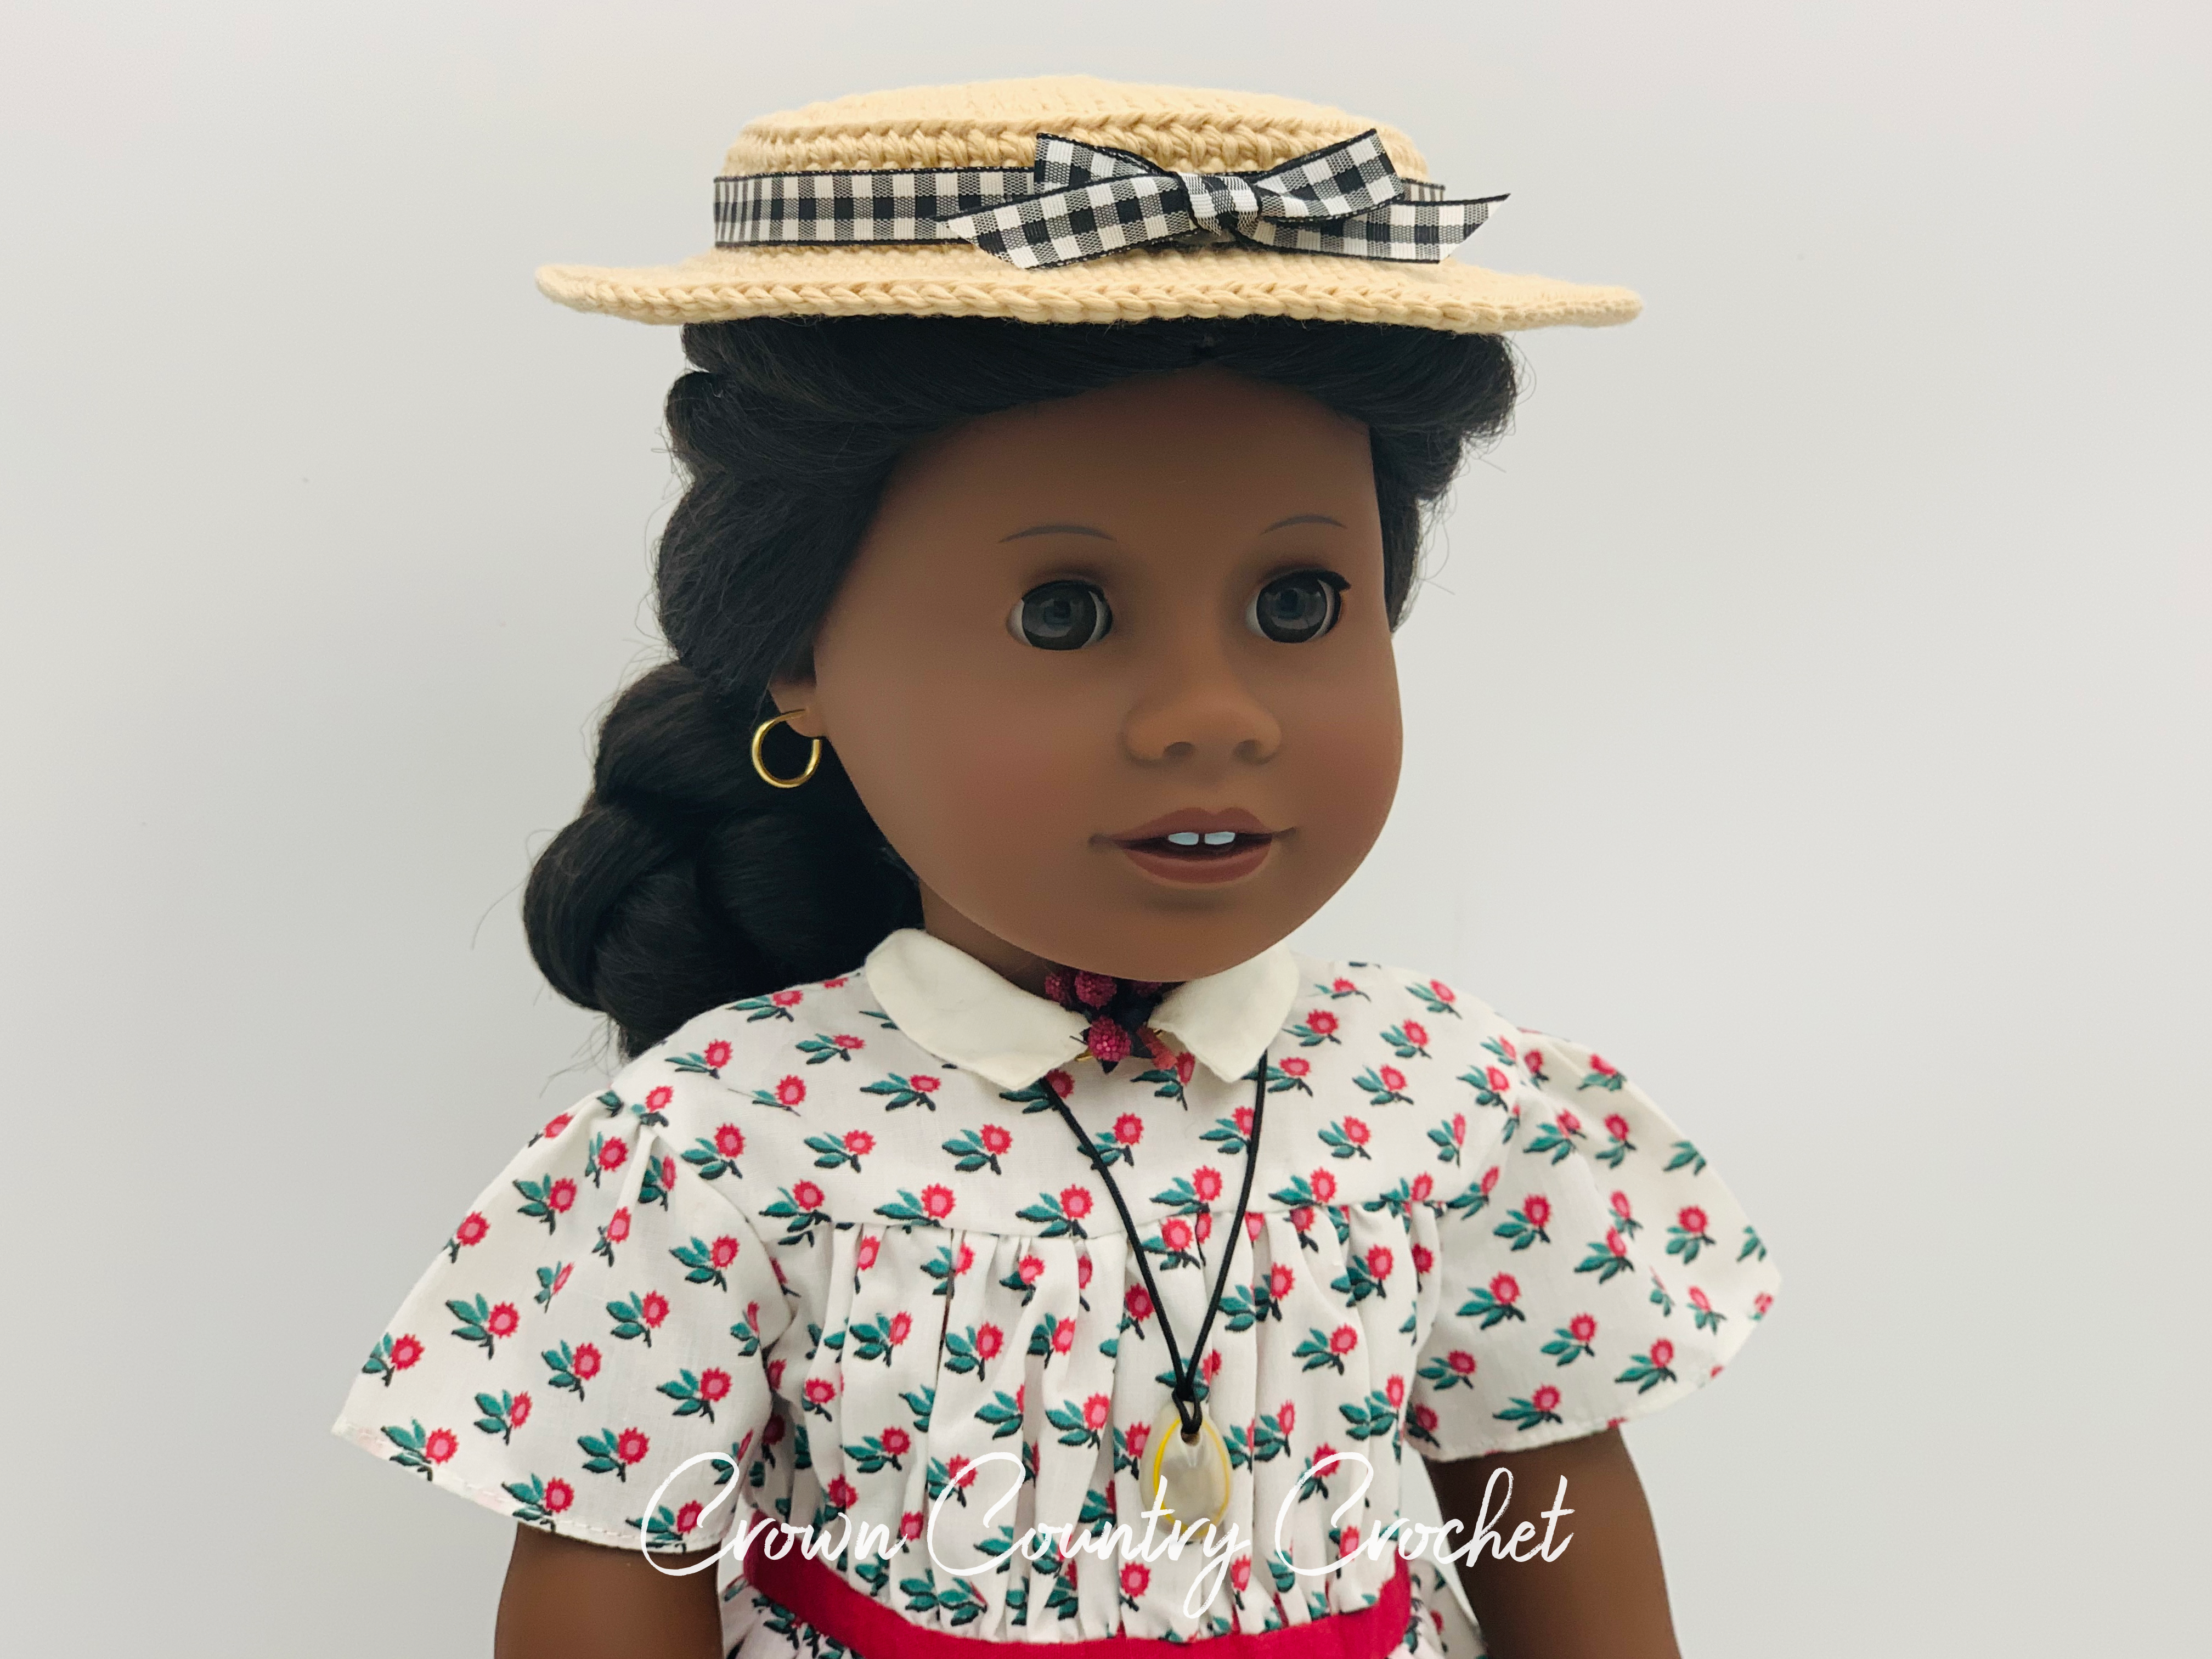
Summer Hat Crochet Pattern for American Girl and 18″ Dolls
-
How to Remove Ink and Dye Stains from American Girl Doll Vinyl

Whether you have a well loved and played with doll with an ink stain or have purchased a secondhand doll online with the stain spot cleverly hidden in the photos, it is incredibly simple to remove the spot! What you will need: 10% Benzoyl Peroxide Acne Treatment Cream Plastic Cling Wrap Old Towels Sunny, Warm…
-
Swimsuit Cover Up Crochet Pattern for American Girl and 18″ Dolls
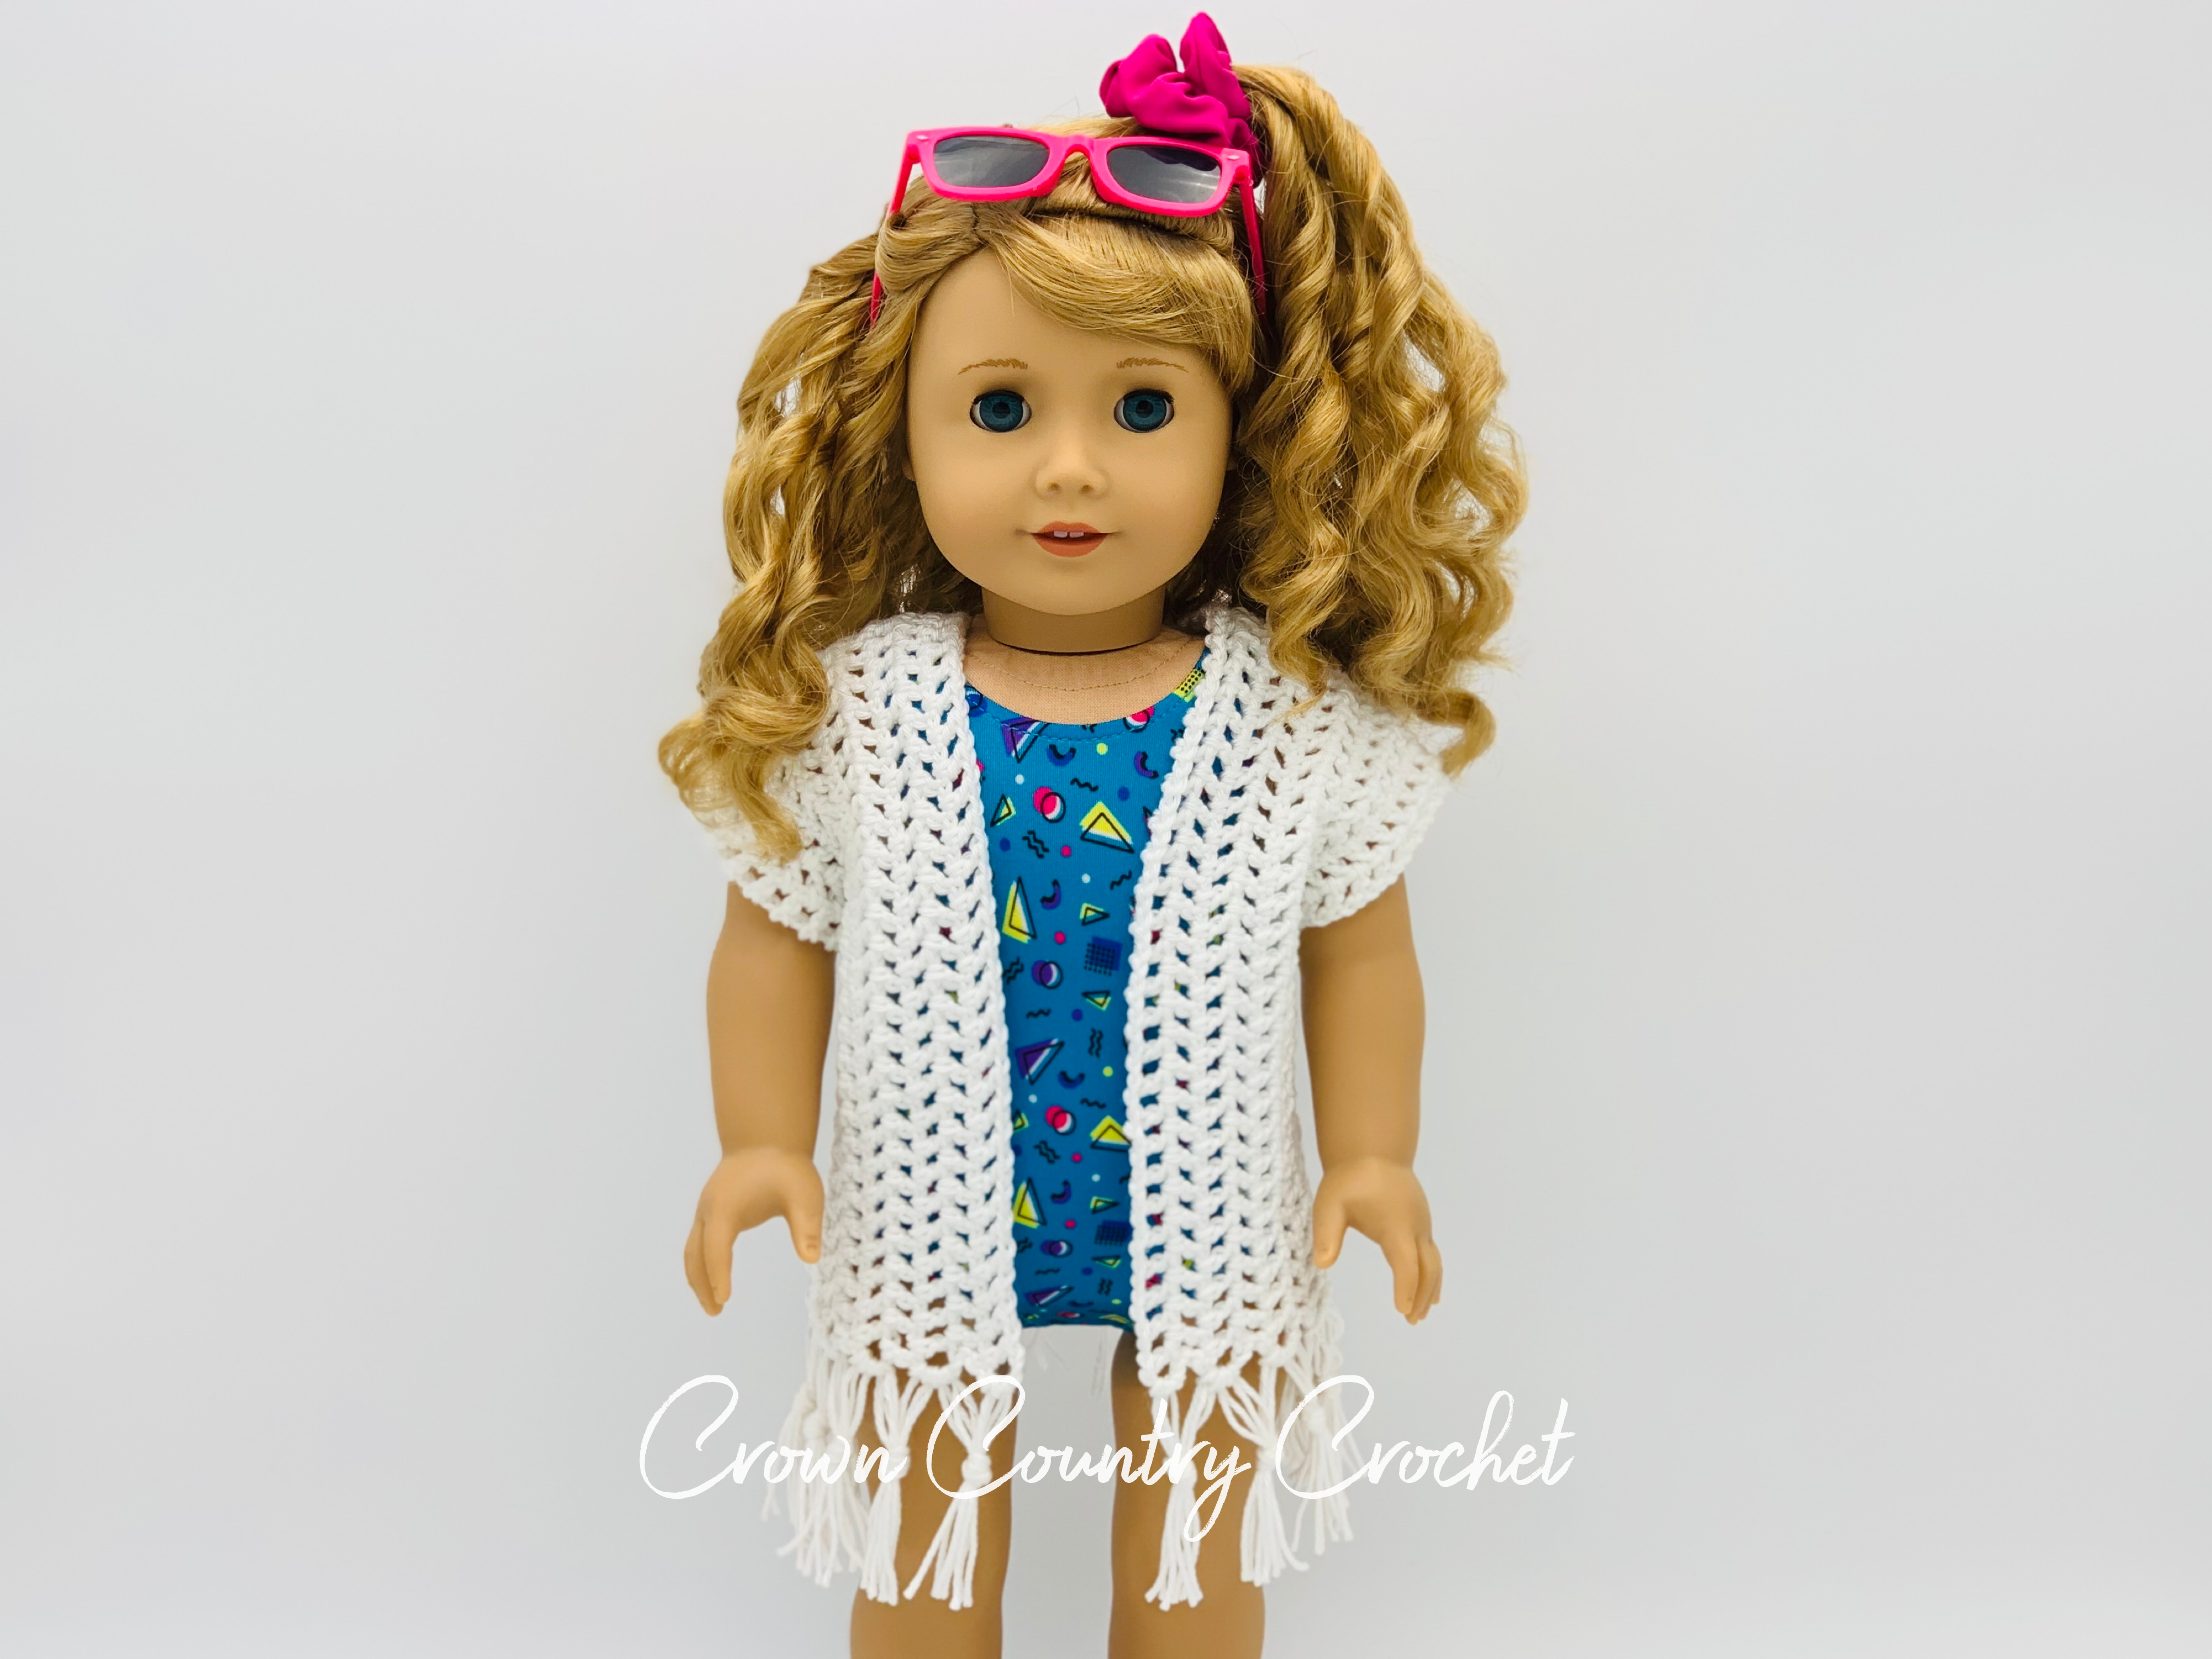
Crochet a simple swimsuit cover up for your American Girl or 18″ Doll. Skill level: Easy. Knowledge of basic crochet stitches and attaching fringe. *For the FREE version of this pattern, continue to scroll down this post* **You can purchase the ad-free, printer-friendly version by clicking here: https://www.etsy.com/listing/1247104121/pdf-crochet-pattern-swimsuit-cover-up** ***To view all crochet patterns available in…
-
Bucket Hat Crochet Pattern for American Girl & 18″ Dolls

Crochet a beach style bucket hat for your doll’s summer wardrobe. Skill level is easy and is worked using standard crochet stitches. You can add a floral pin for detail or leave the hat as is. *For the FREE version of this pattern, continue to scroll down this post* **You can purchase the ad-free, printer-friendly…
-
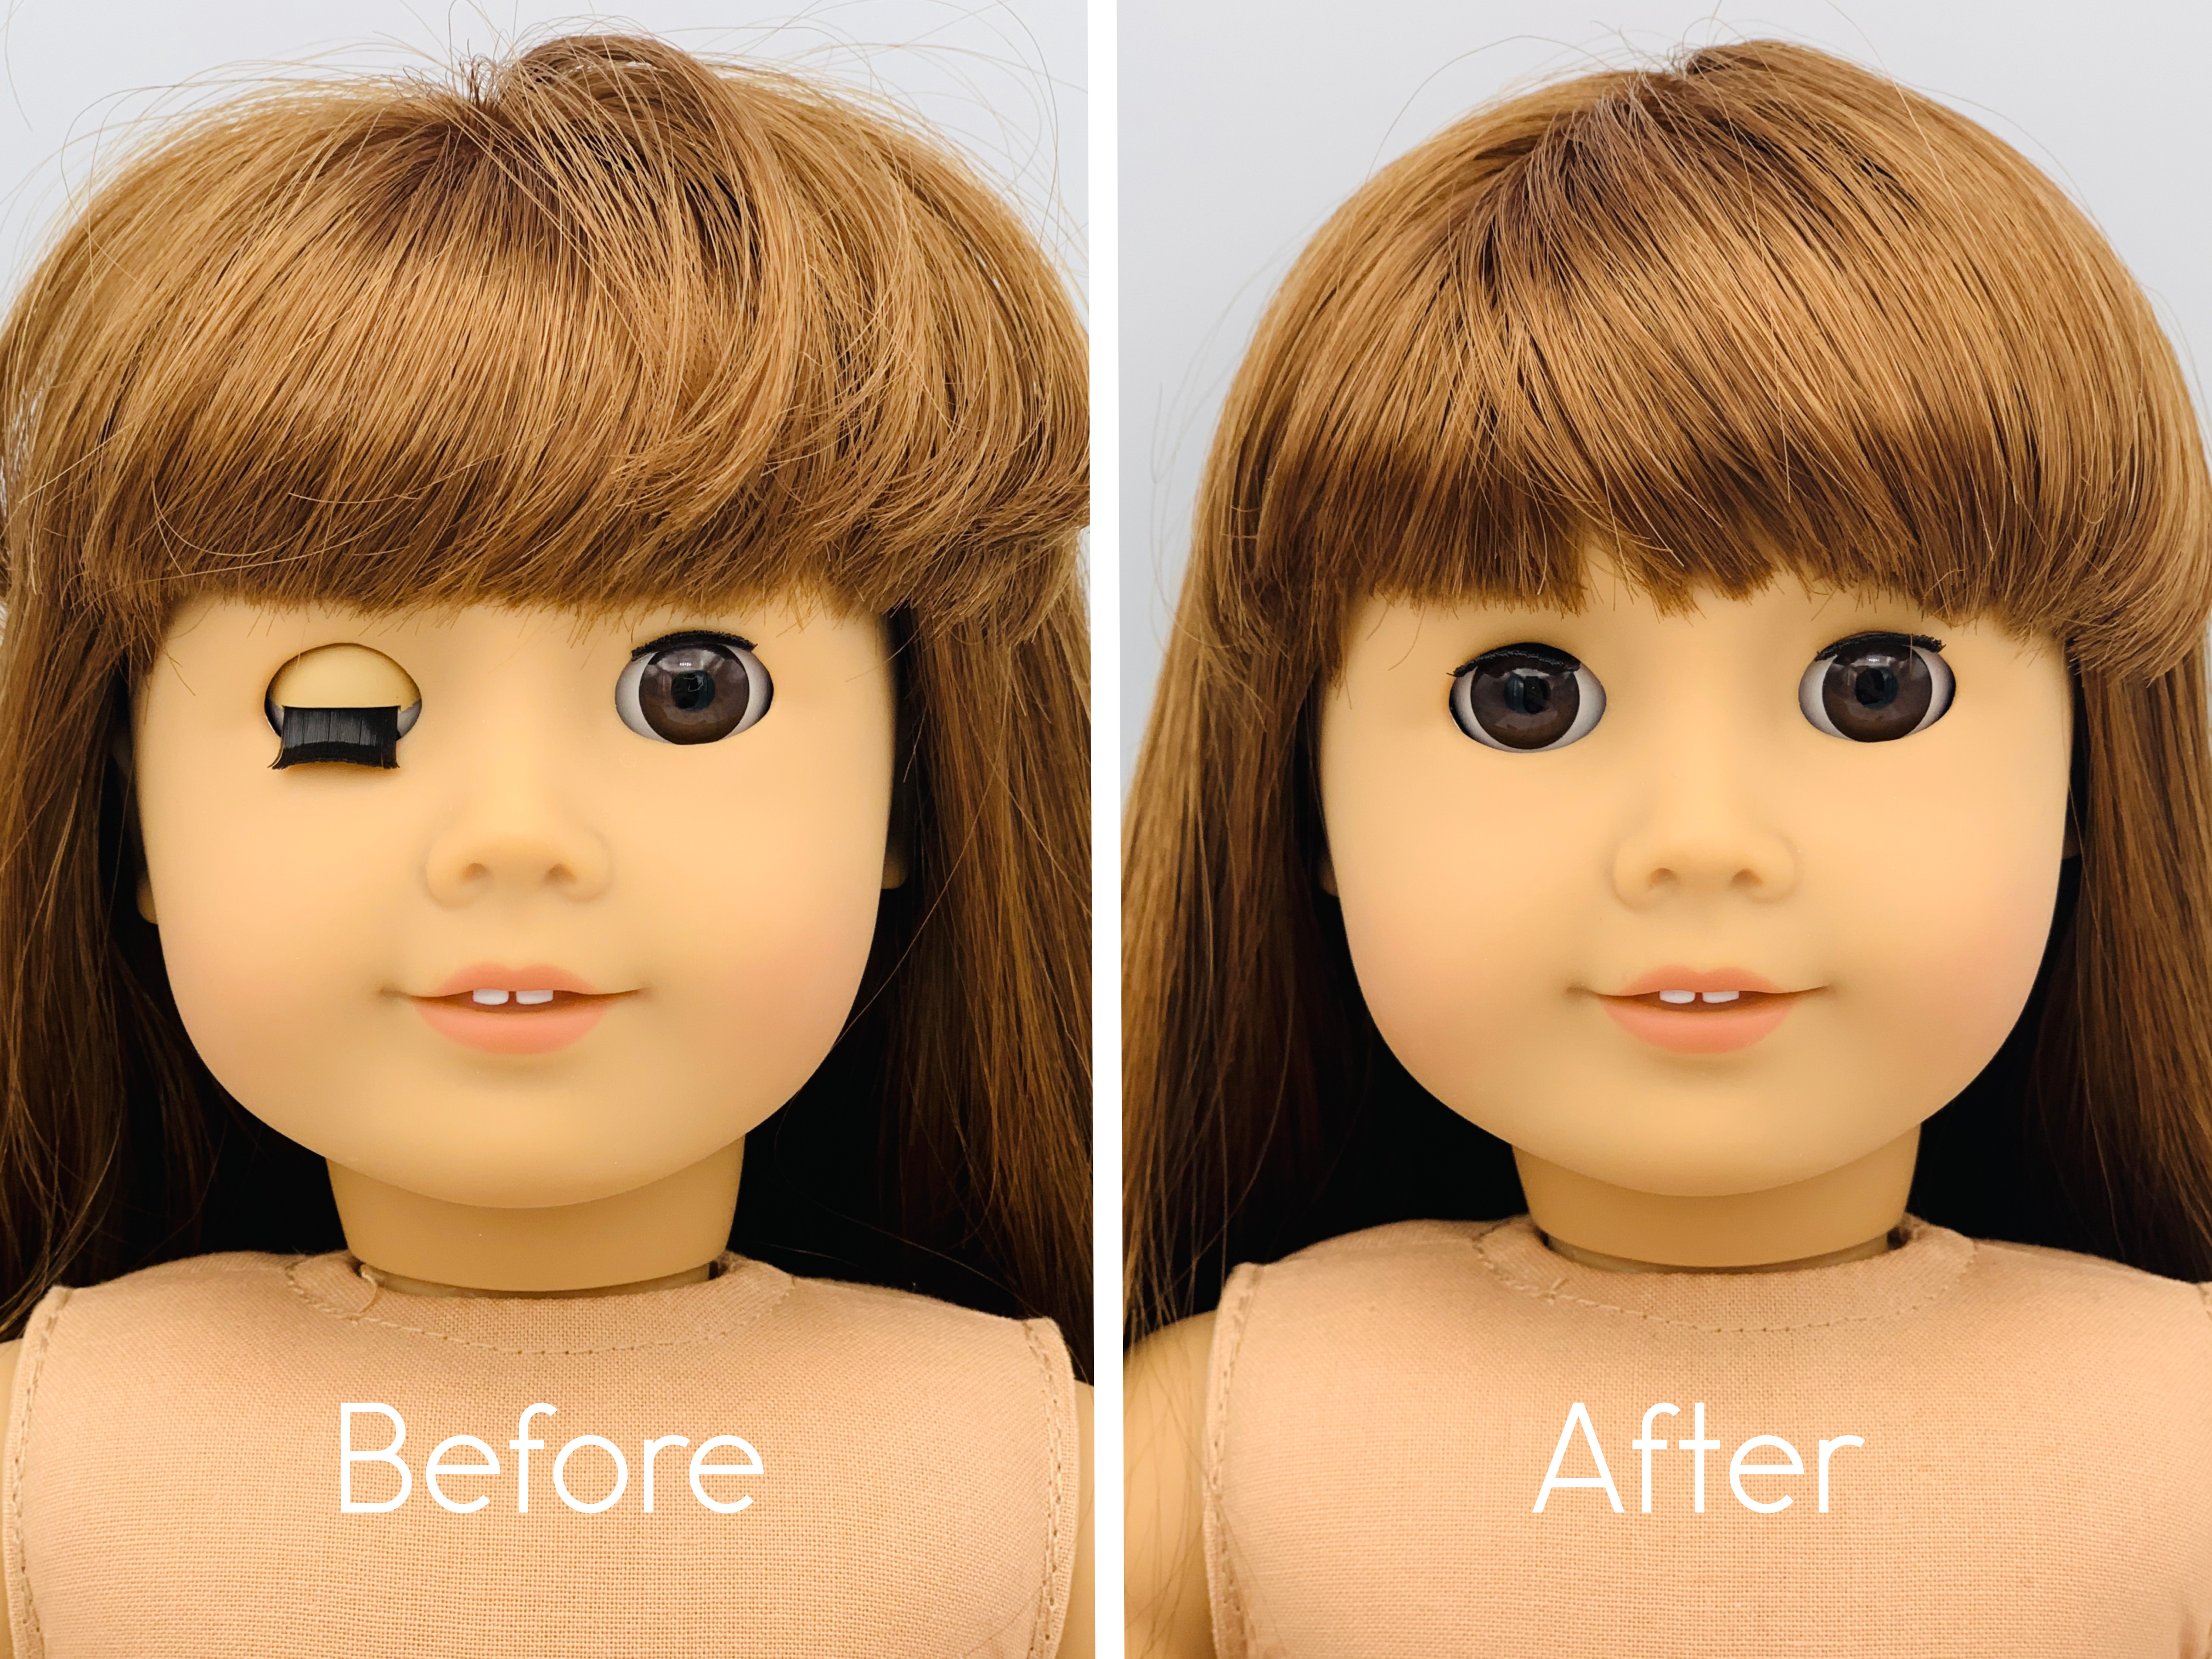
How to Repair “Sticky” Eye and Retracted Lashes for American Girl Dolls
-
Spring Sweater Crochet Pattern for 18″ Dolls
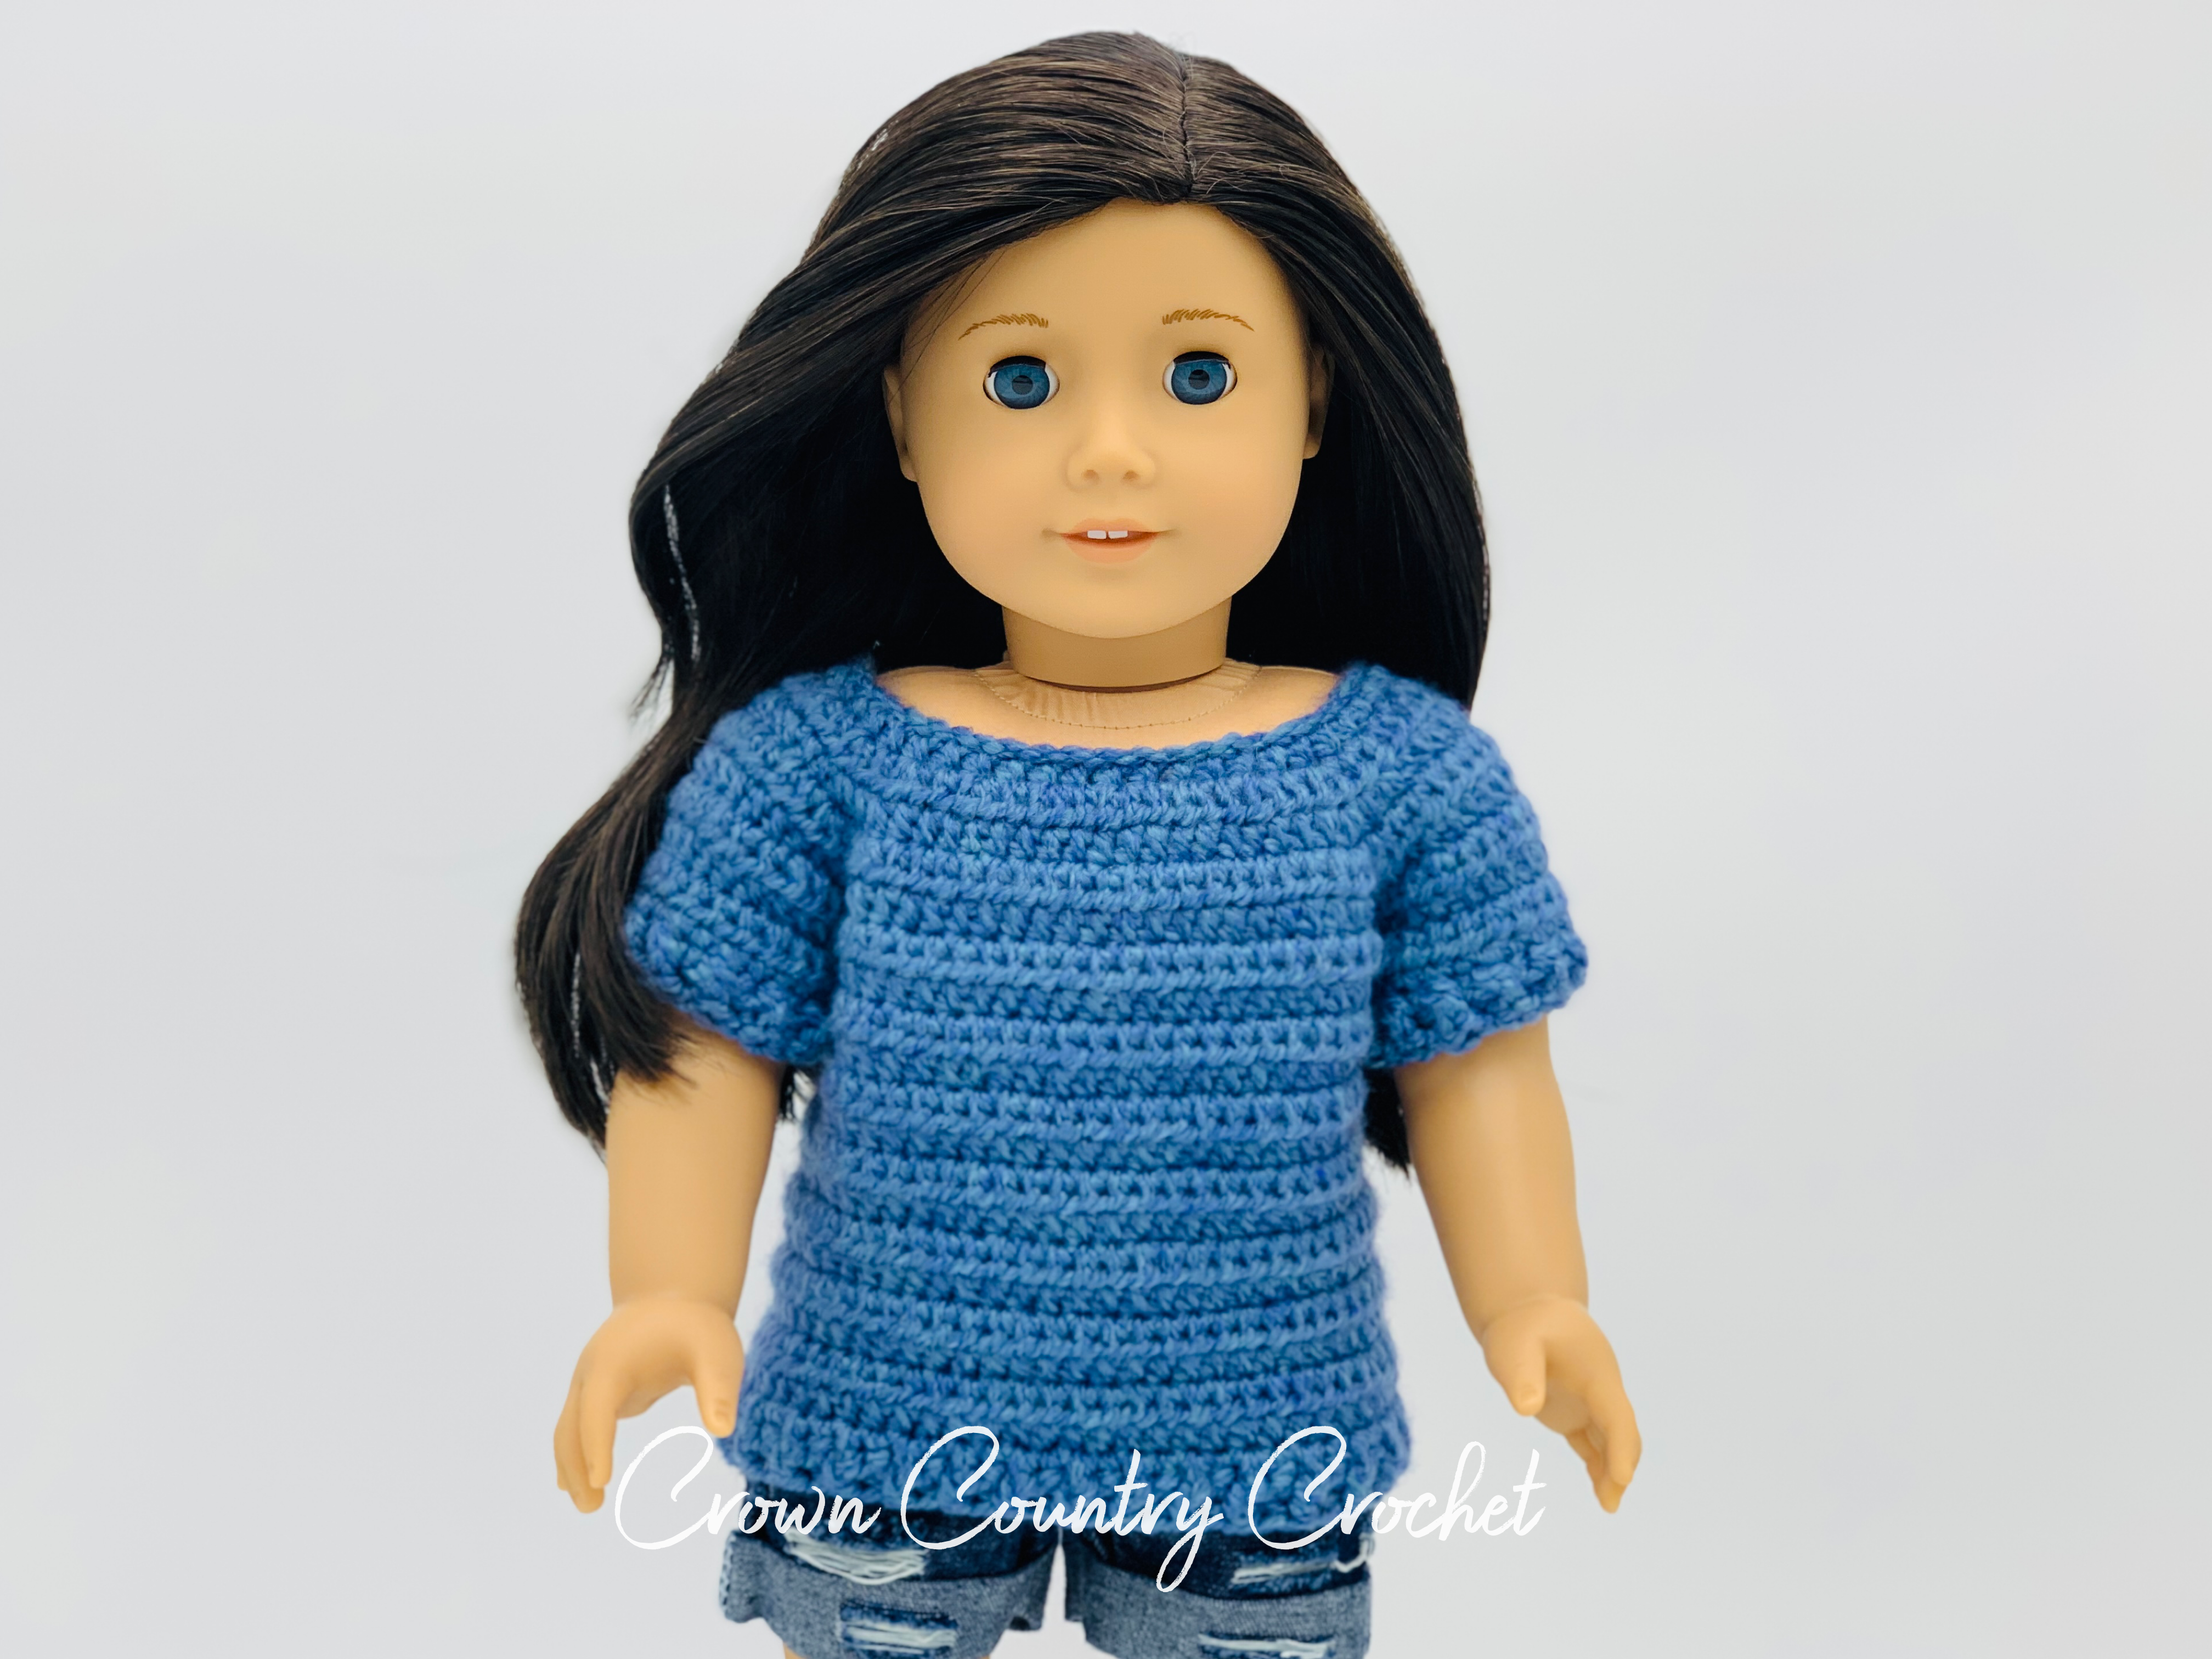
Crochet a simple springtime sweater for your doll. *For the FREE version, continue to scroll down this post* **You can purchase the ad-free, printer friendly version by clicking here:https://www.etsy.com/listing/1207306626/pdf-crochet-pattern-spring-sweater-for** ***To view all crochet patterns available in my shop, click here: https://www.etsy.com/shop/CrownCountryCrochet*** Materials #3 DK Yarn 3.00 mm hook Row counter Stitch markers Yarn needle Sew…
-
Farmer Hat Crochet Pattern for American Girl and 18″ Dolls
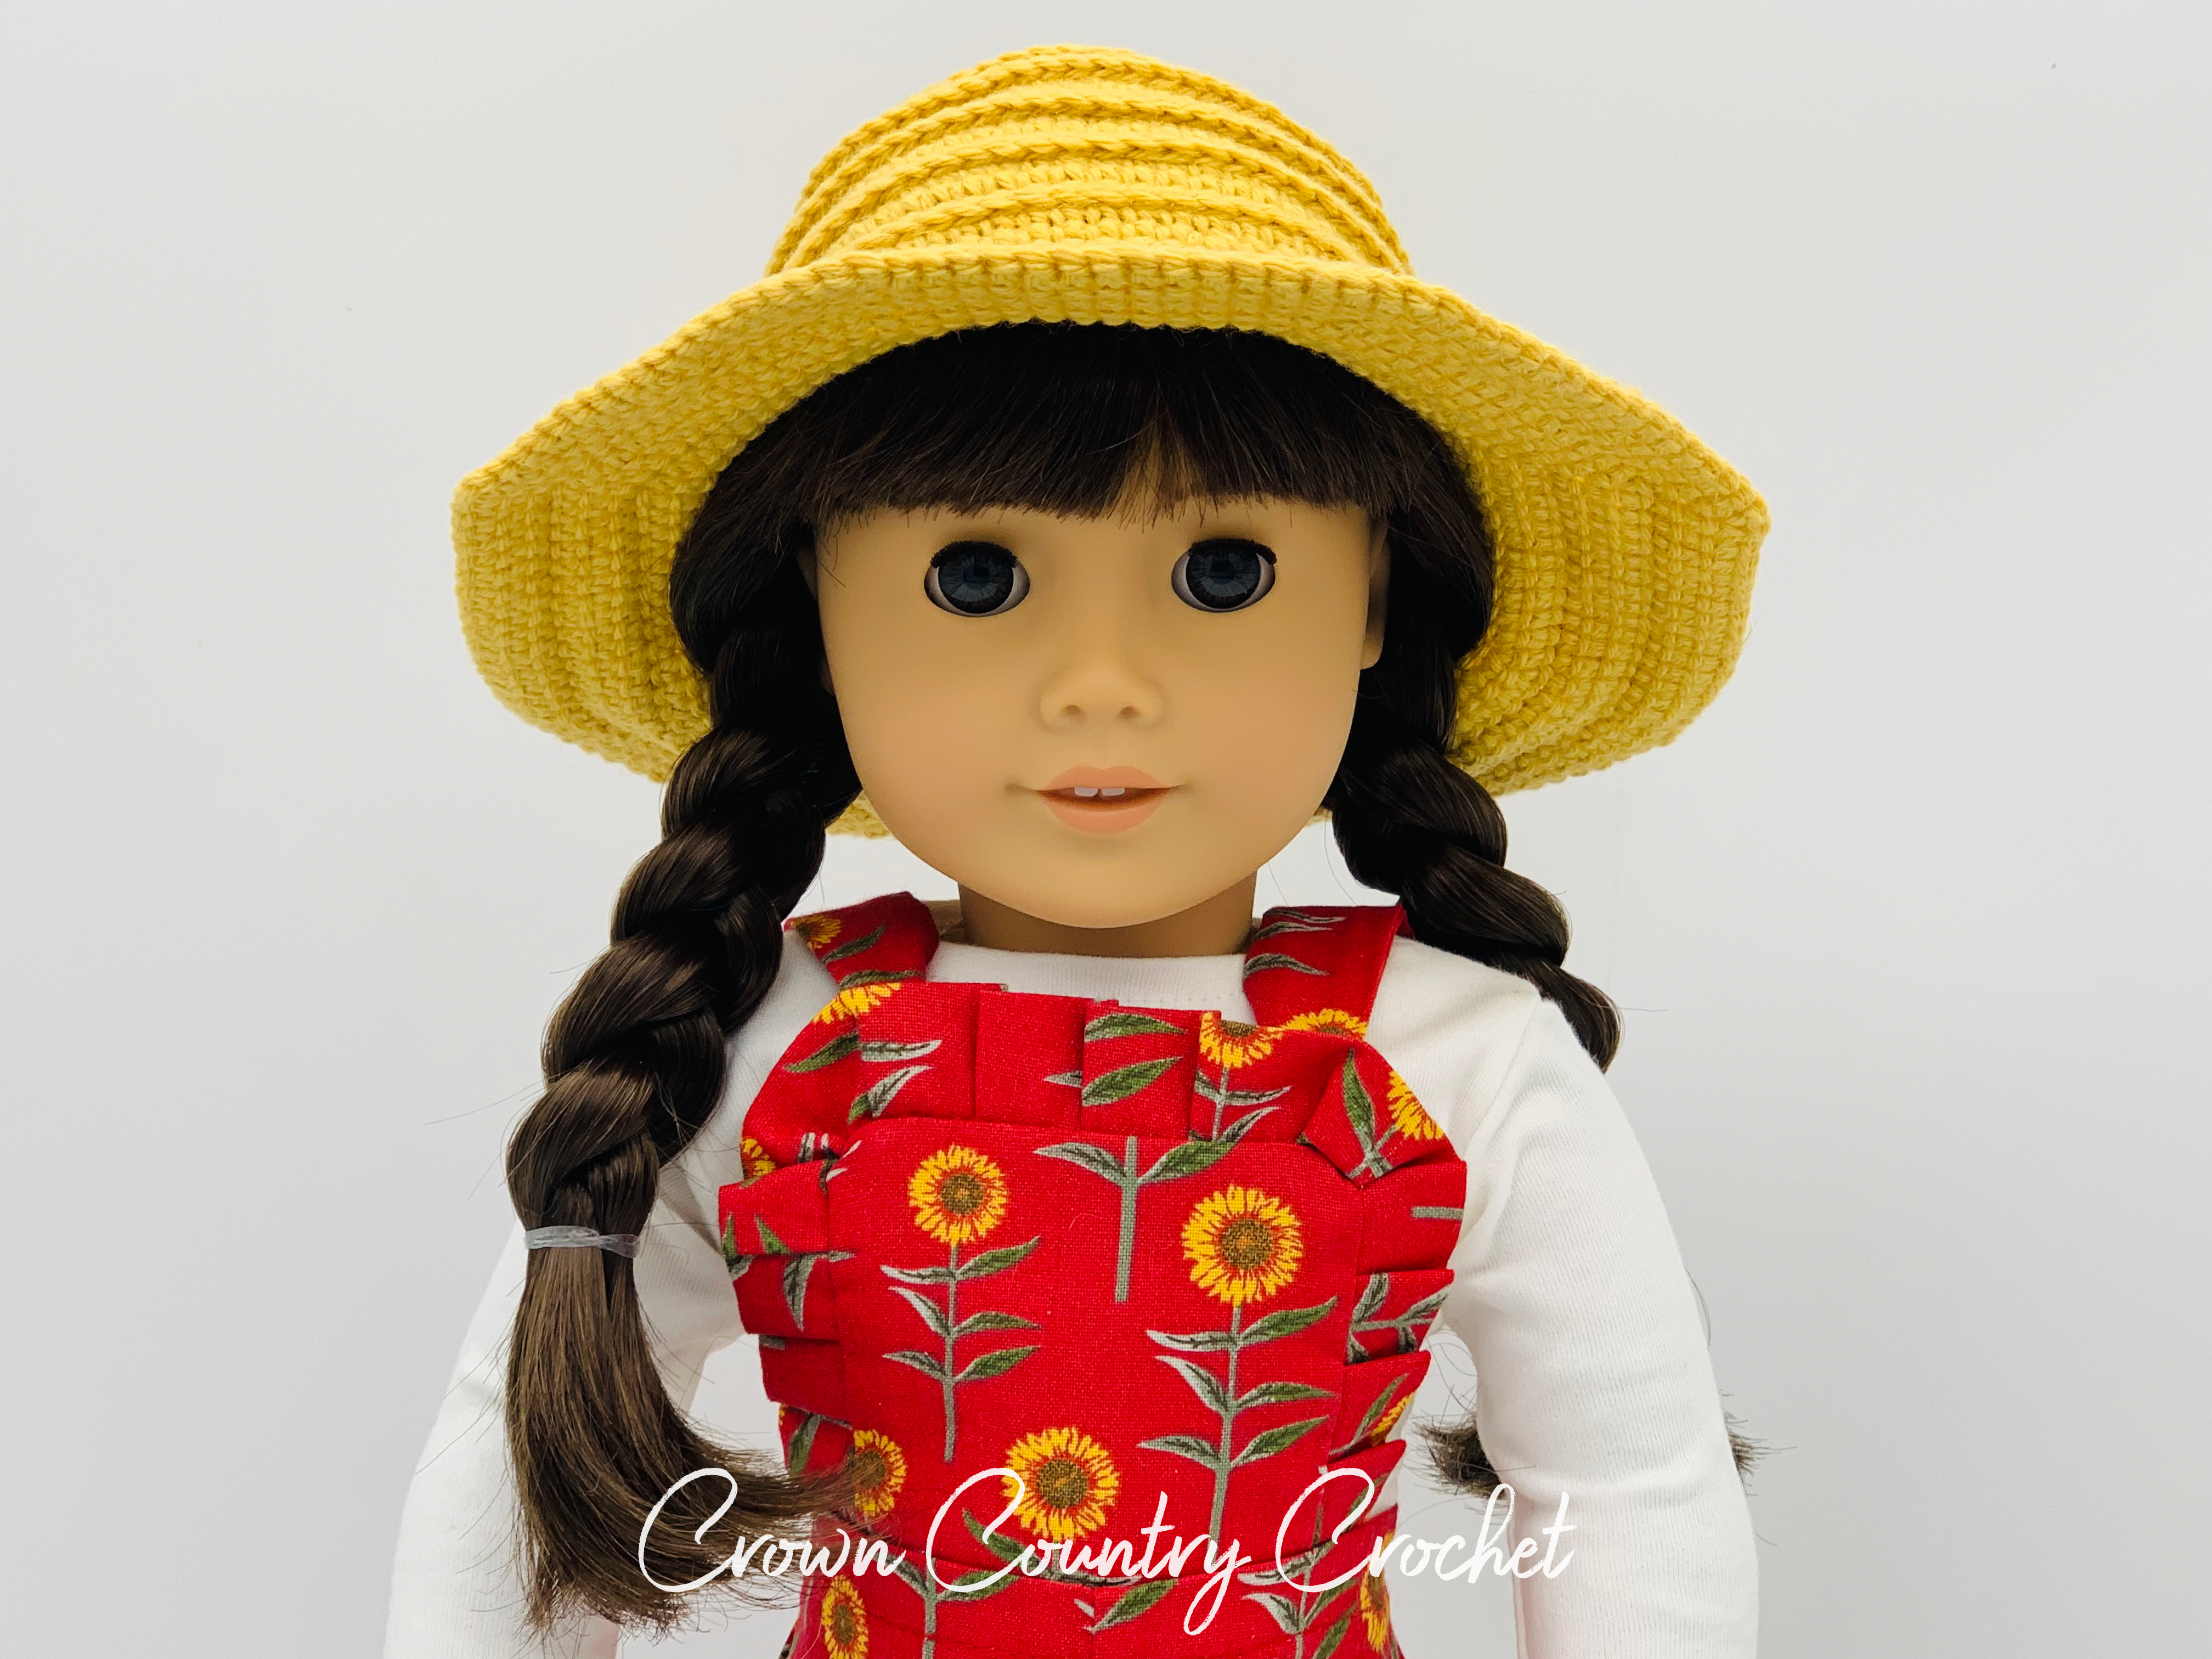
Spring is finally here and planting season is among us! Keep your doll’s skin protected from sunburn and looking cute with this crocheted farmer hat. The ridges in the hat give a straw-like appearance and are worked at the end of the hat. Be sure to work through the back loops only as instructed to…
-
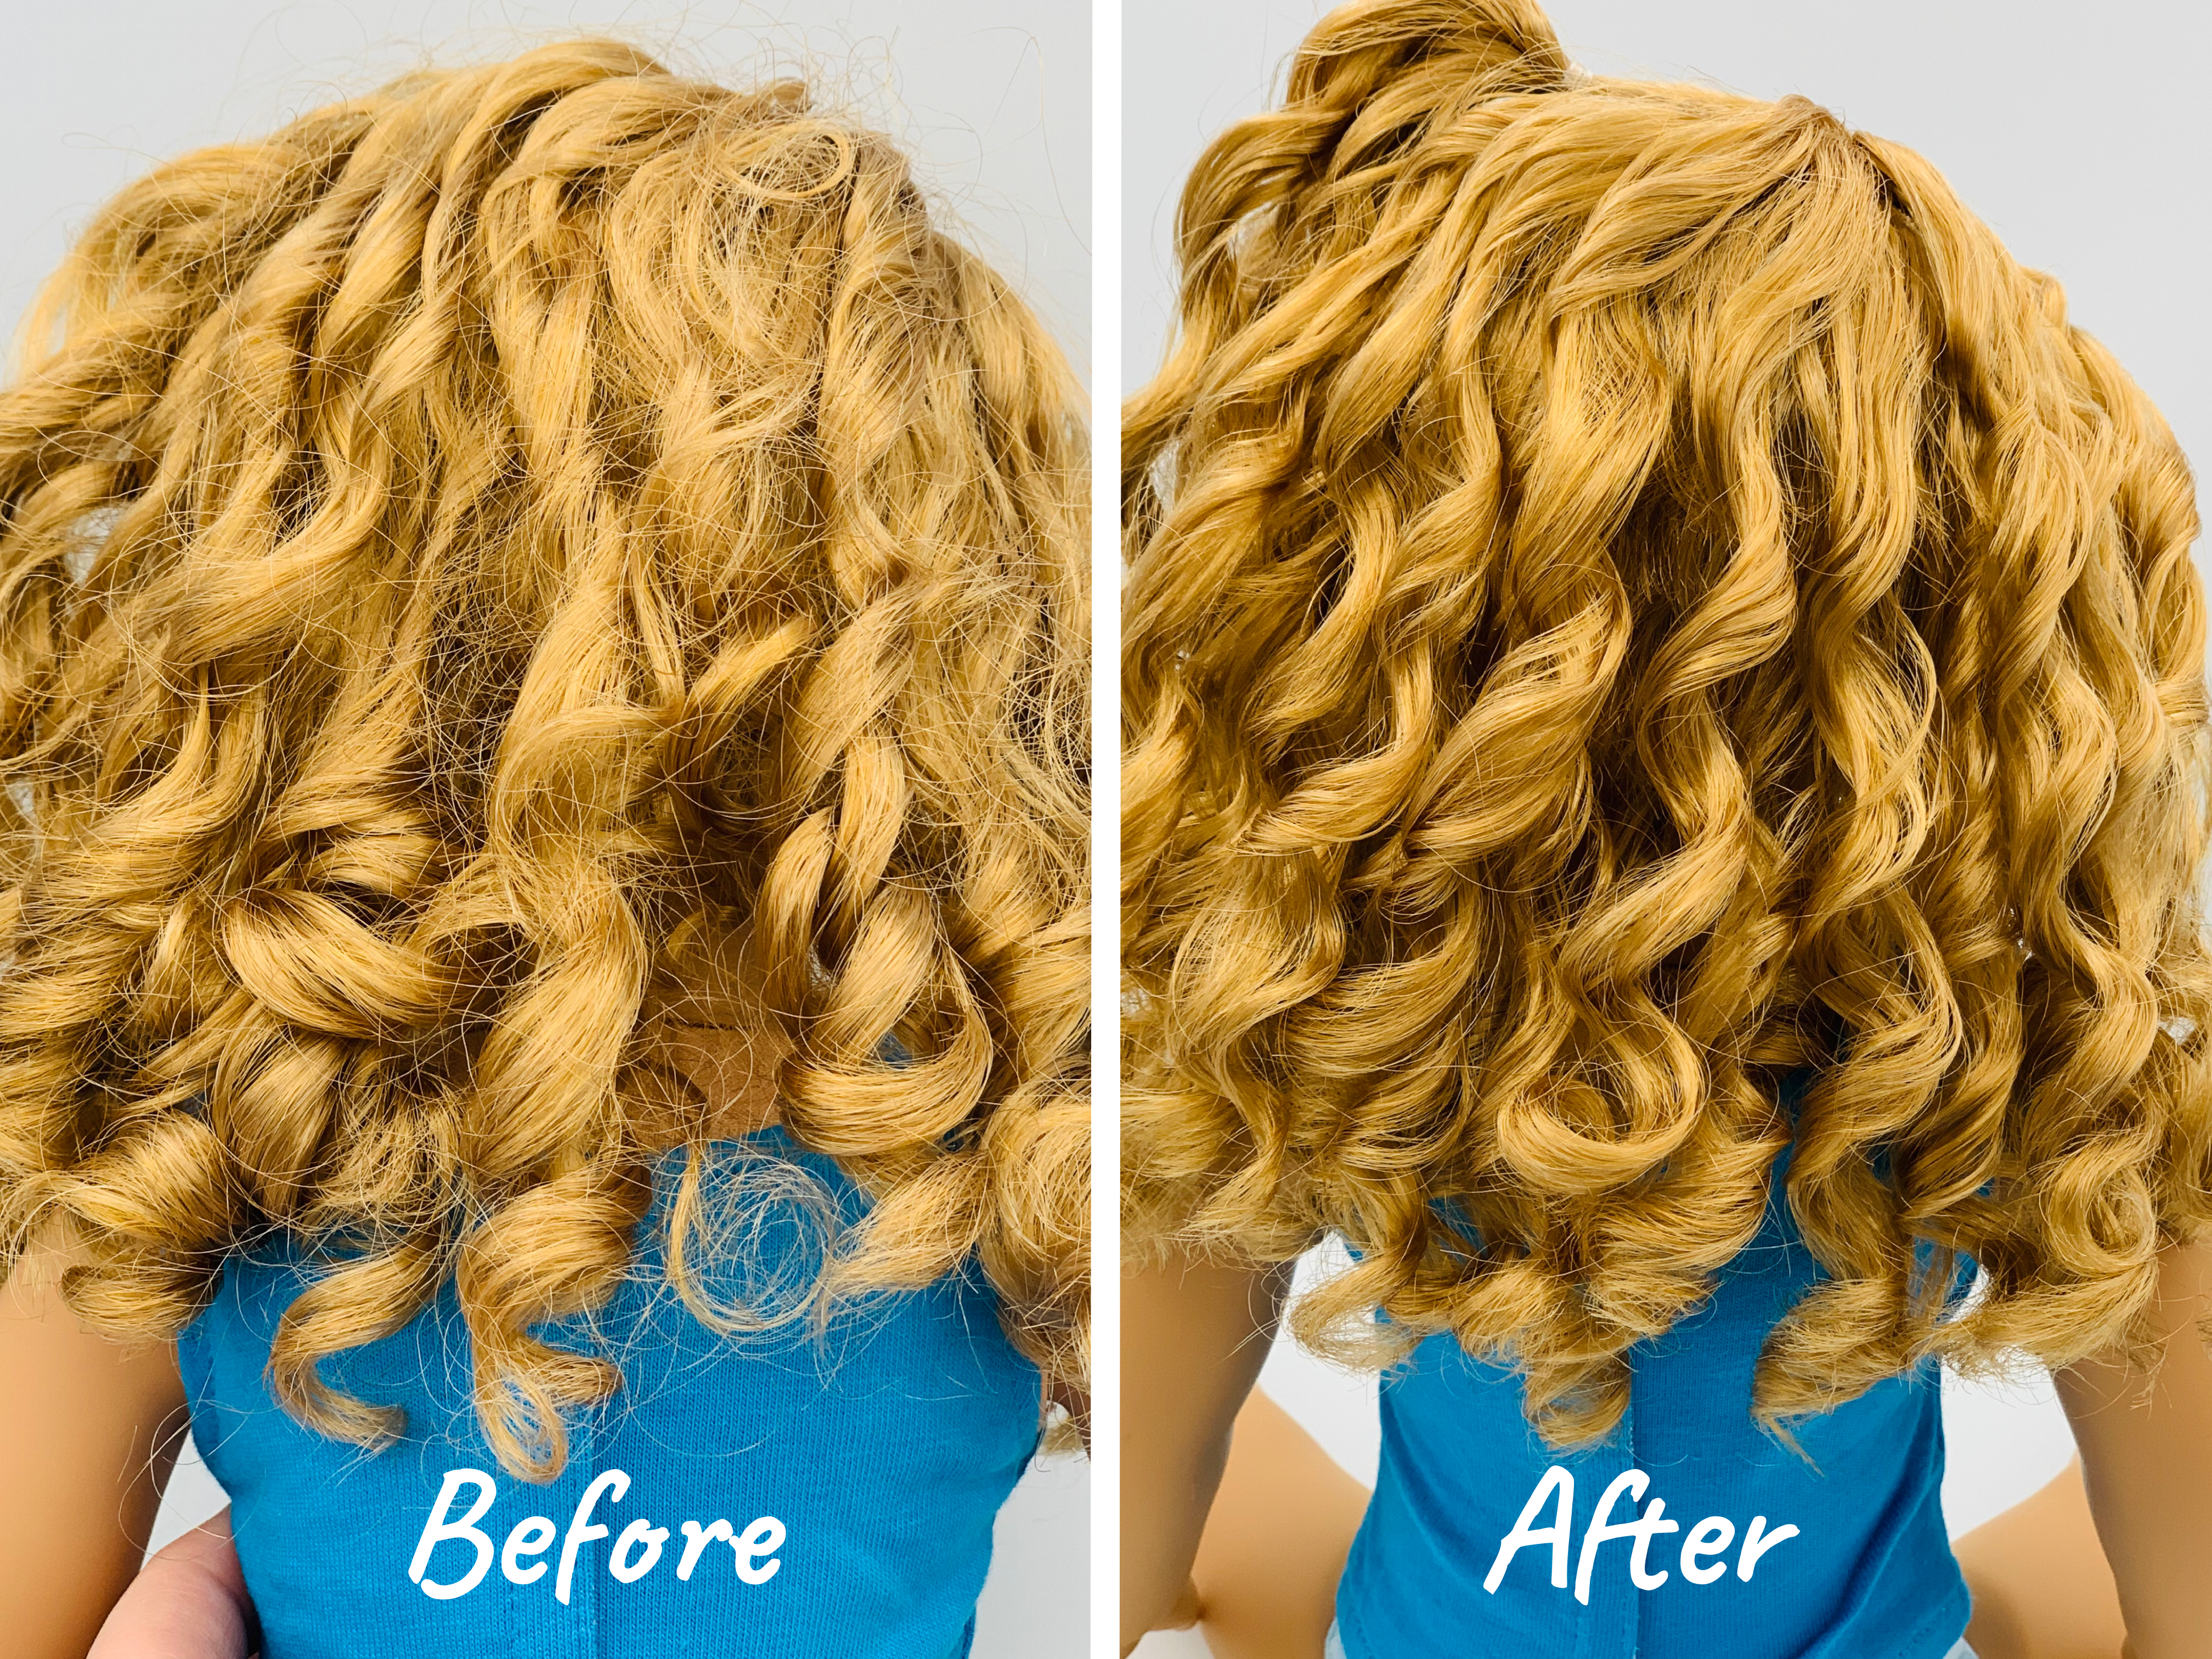
How to Re-curl American Girl Doll Hair
-
Fiesta Shawl Crochet Pattern for 18″ Dolls

Crochet a sweet, simple shawl for your doll. *For the FREE version of this pattern, continue to scroll down this post.* **You can purchase the ad-free, printer friendly version by clicking here: https://www.etsy.com/listing/1200274171/pdf-crochet-pattern-fiesta-shawl-for** ***To view all crochet patterns available in my shop, click here: https://www.etsy.com/shop/CrownCountryCrochet*** Materials #4 Worsted Yarn E (3.5 mm) hook Larger hook…
-
Rag Doll Crochet Pattern for 18″ Dolls

Inspired by Kirsten’s beloved doll, Sari, crochet your own miniature pioneer rag doll for your doll to love. *For the FREE version of this pattern, continue to scroll down this post.* **You can purchase the ad-free, printer friendly version by clicking here: https://www.etsy.com/listing/1183165378/pdf-crochet-pattern-rag-doll-for-18** ***To view all crochet patterns available in my shop, click here: https://www.etsy.com/shop/CrownCountryCrochet***…
-
How to Remove Shine Marks and Scuffs from American Girl Dolls

Shine marks are inevitable. They occur when the doll takes a hard fall and leaves behind a little mark that shines in the light. You may also have purchased a doll online secondhand that has shine marks and scuffs that were not noticeable in the listing photos. What you will need: Micro-Mesh Sanding pads (1500,…
-
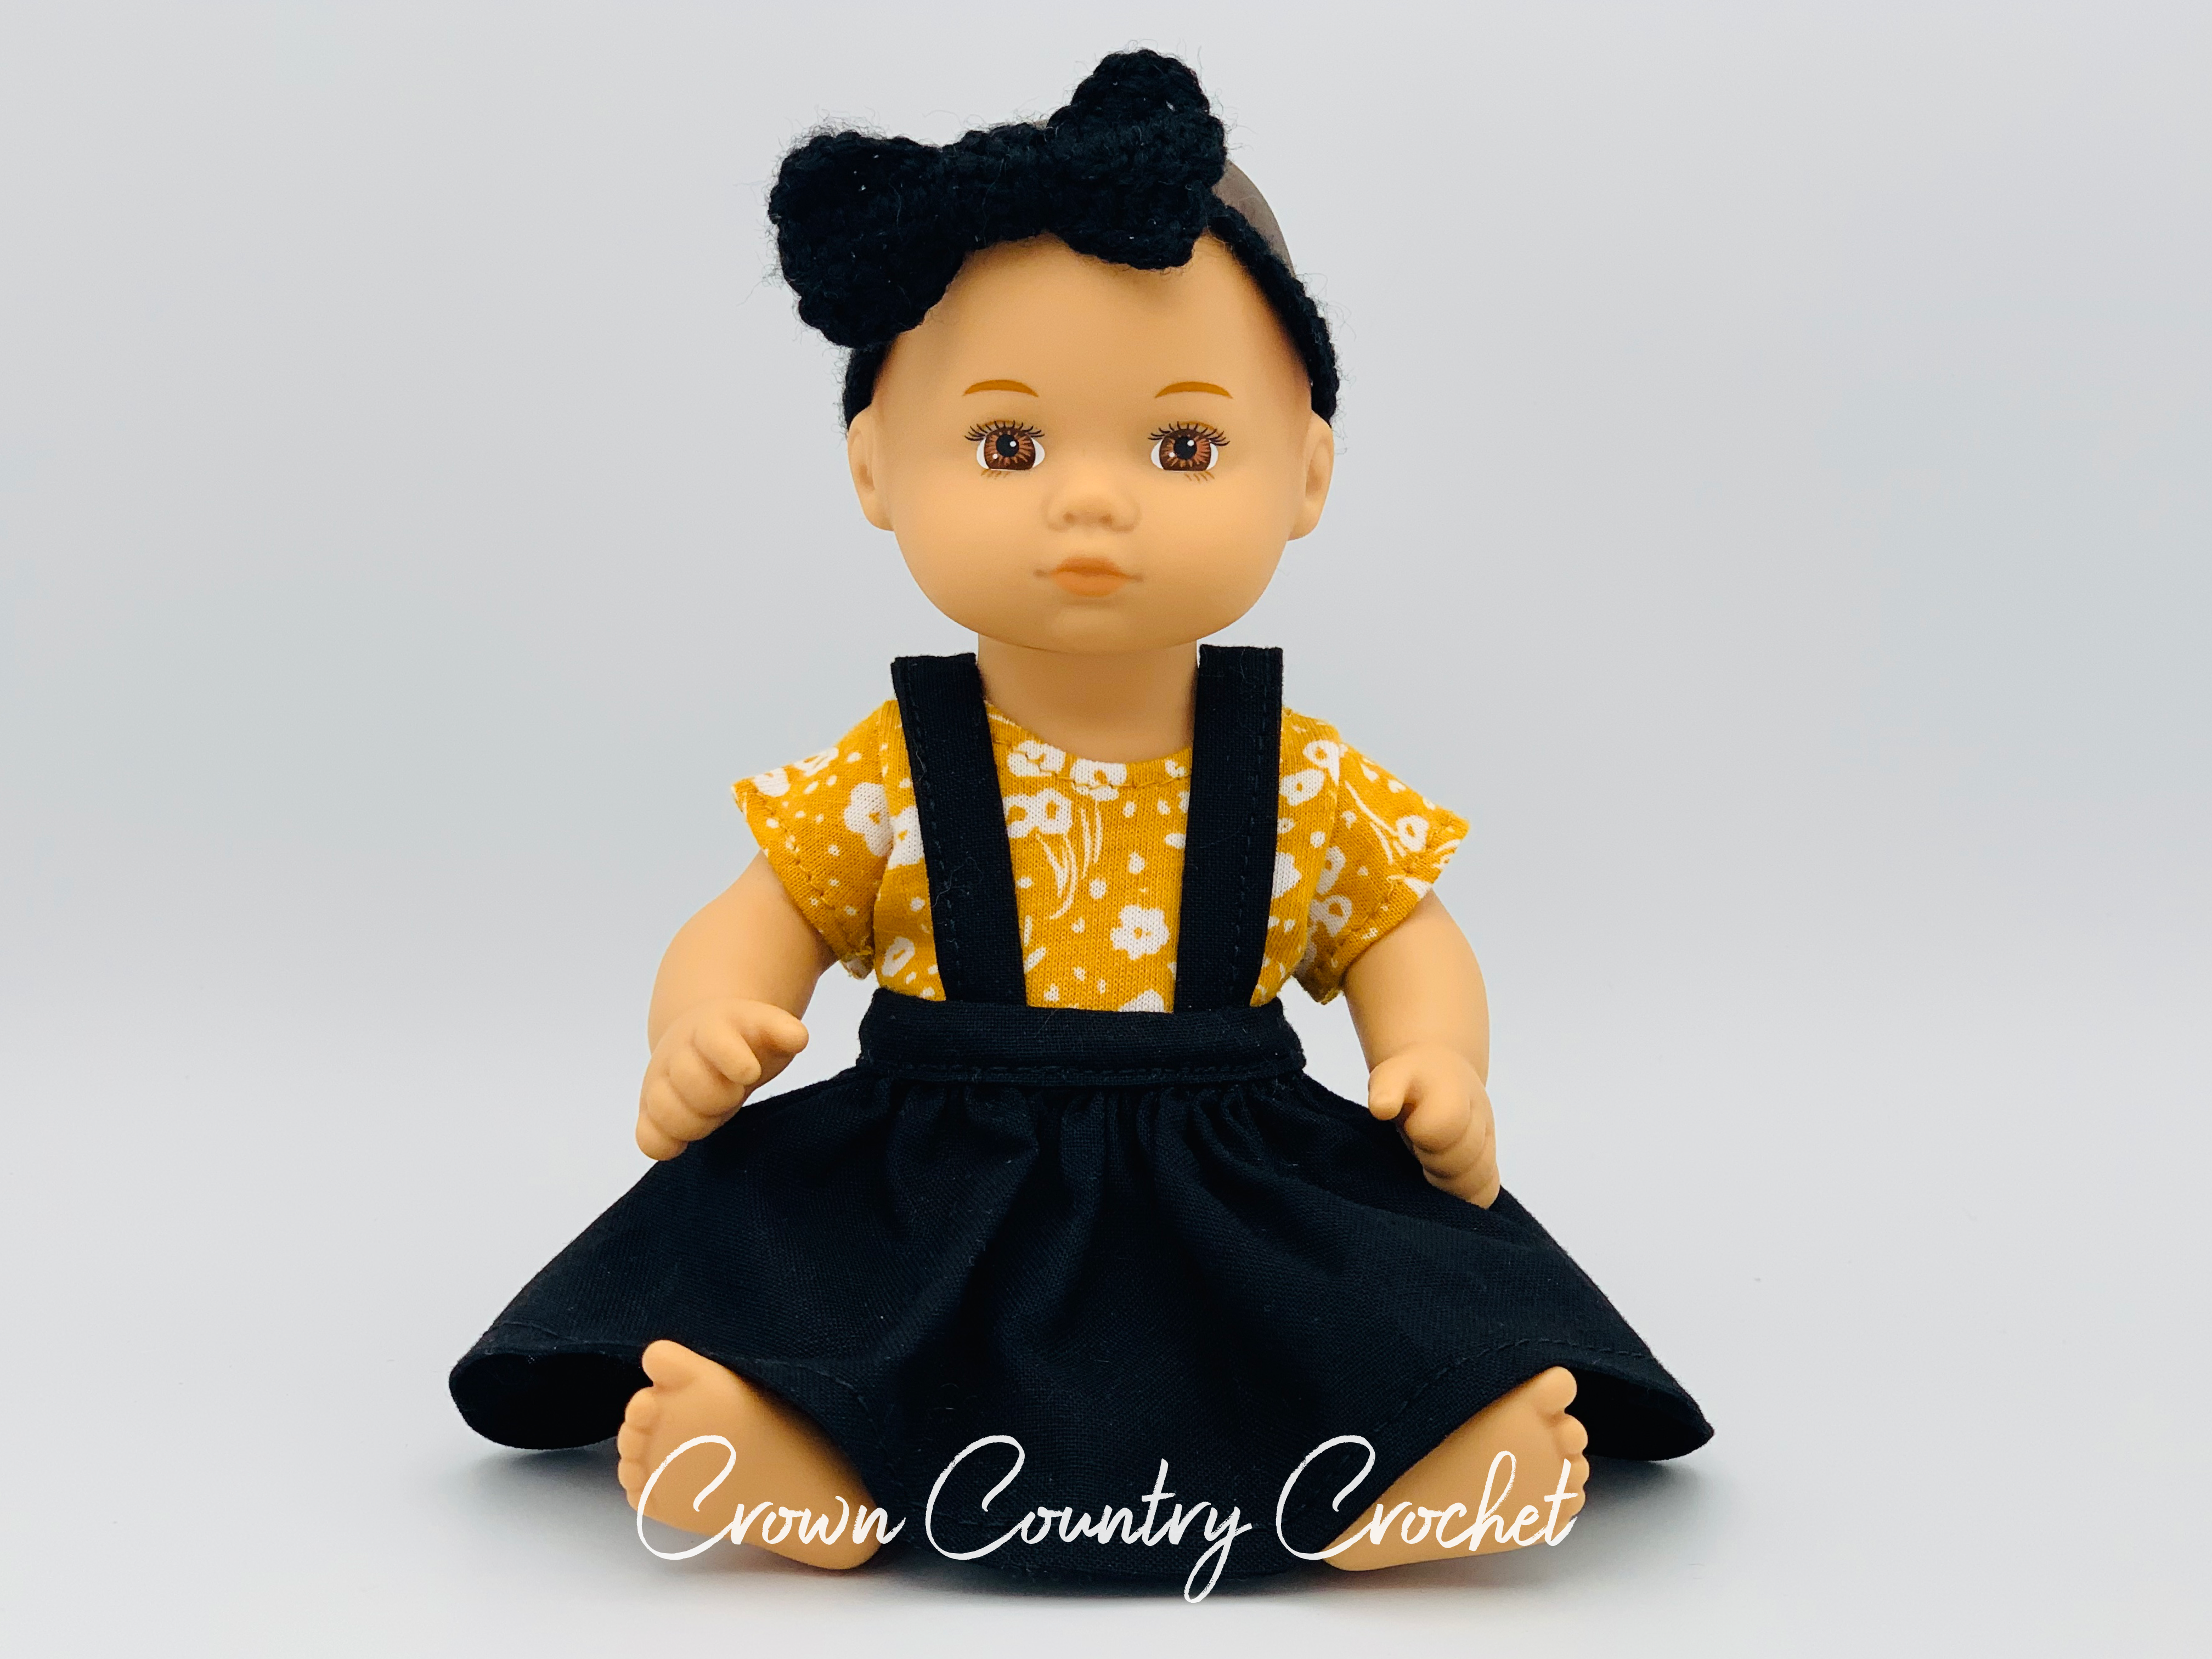
Baby Bow Crochet Pattern
-
Sweater Crochet Pattern

Crochet a simple, basic sweater to add to your doll’s wardrobe. *For the free version of this pattern, continue to scroll down this post.* **You can purchase the ad-free, printer friendly version by clicking here: https://www.etsy.com/listing/1167803290/pdf-crochet-pattern-sweater-for-18-dolls** ***To view all crochet patterns available in my shop, click here: https://www.etsy.com/shop/CrownCountryCrochet*** Materials #3 DK Yarn E (3.5) mm…
-
Winter Scarf Crochet Pattern
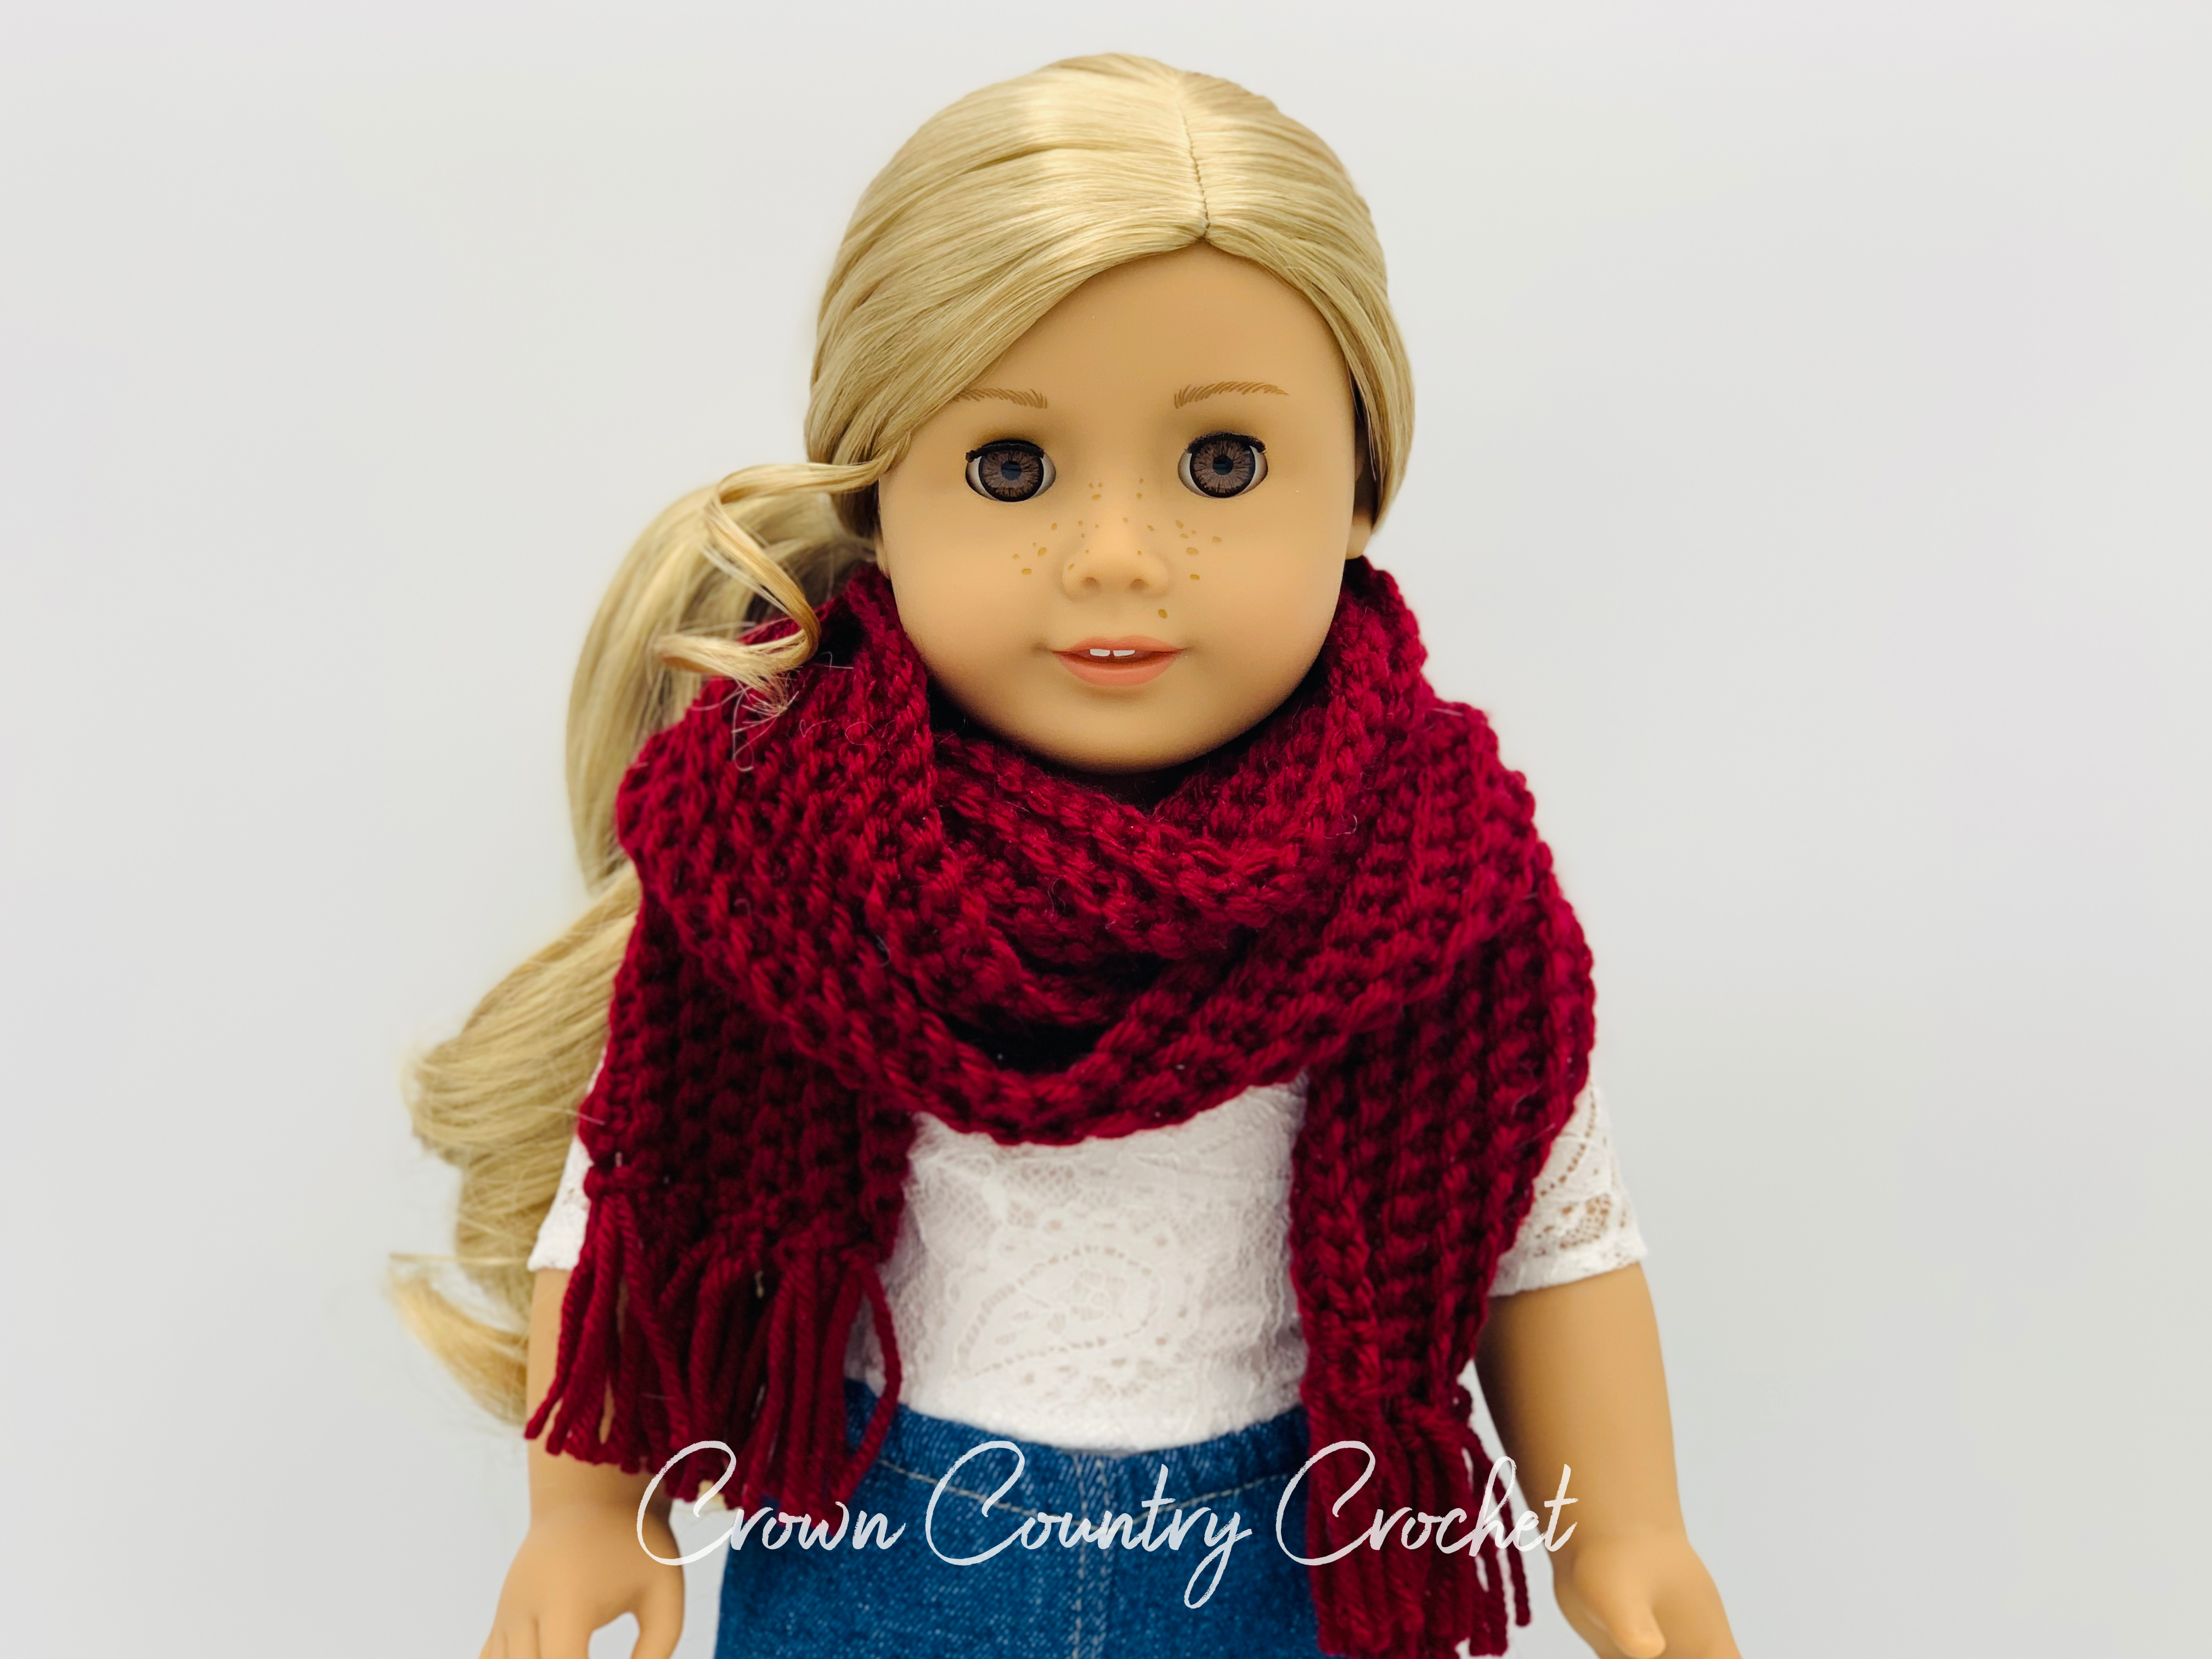
Create a cute and easy scarf to keep your doll cozy for winter. This is a simple beginner level pattern that can be worked up quickly. *For the FREE crochet pattern, continue to scroll down this post* **To view all crochet patterns available in my store, click here: https://www.etsy.com/shop/CrownCountryCrochet** Materials Worsted Yarn: Knit Picks Brava…
-
How to Tighten American Girl Doll Limbs

-
Ribbed Beanie Crochet Pattern
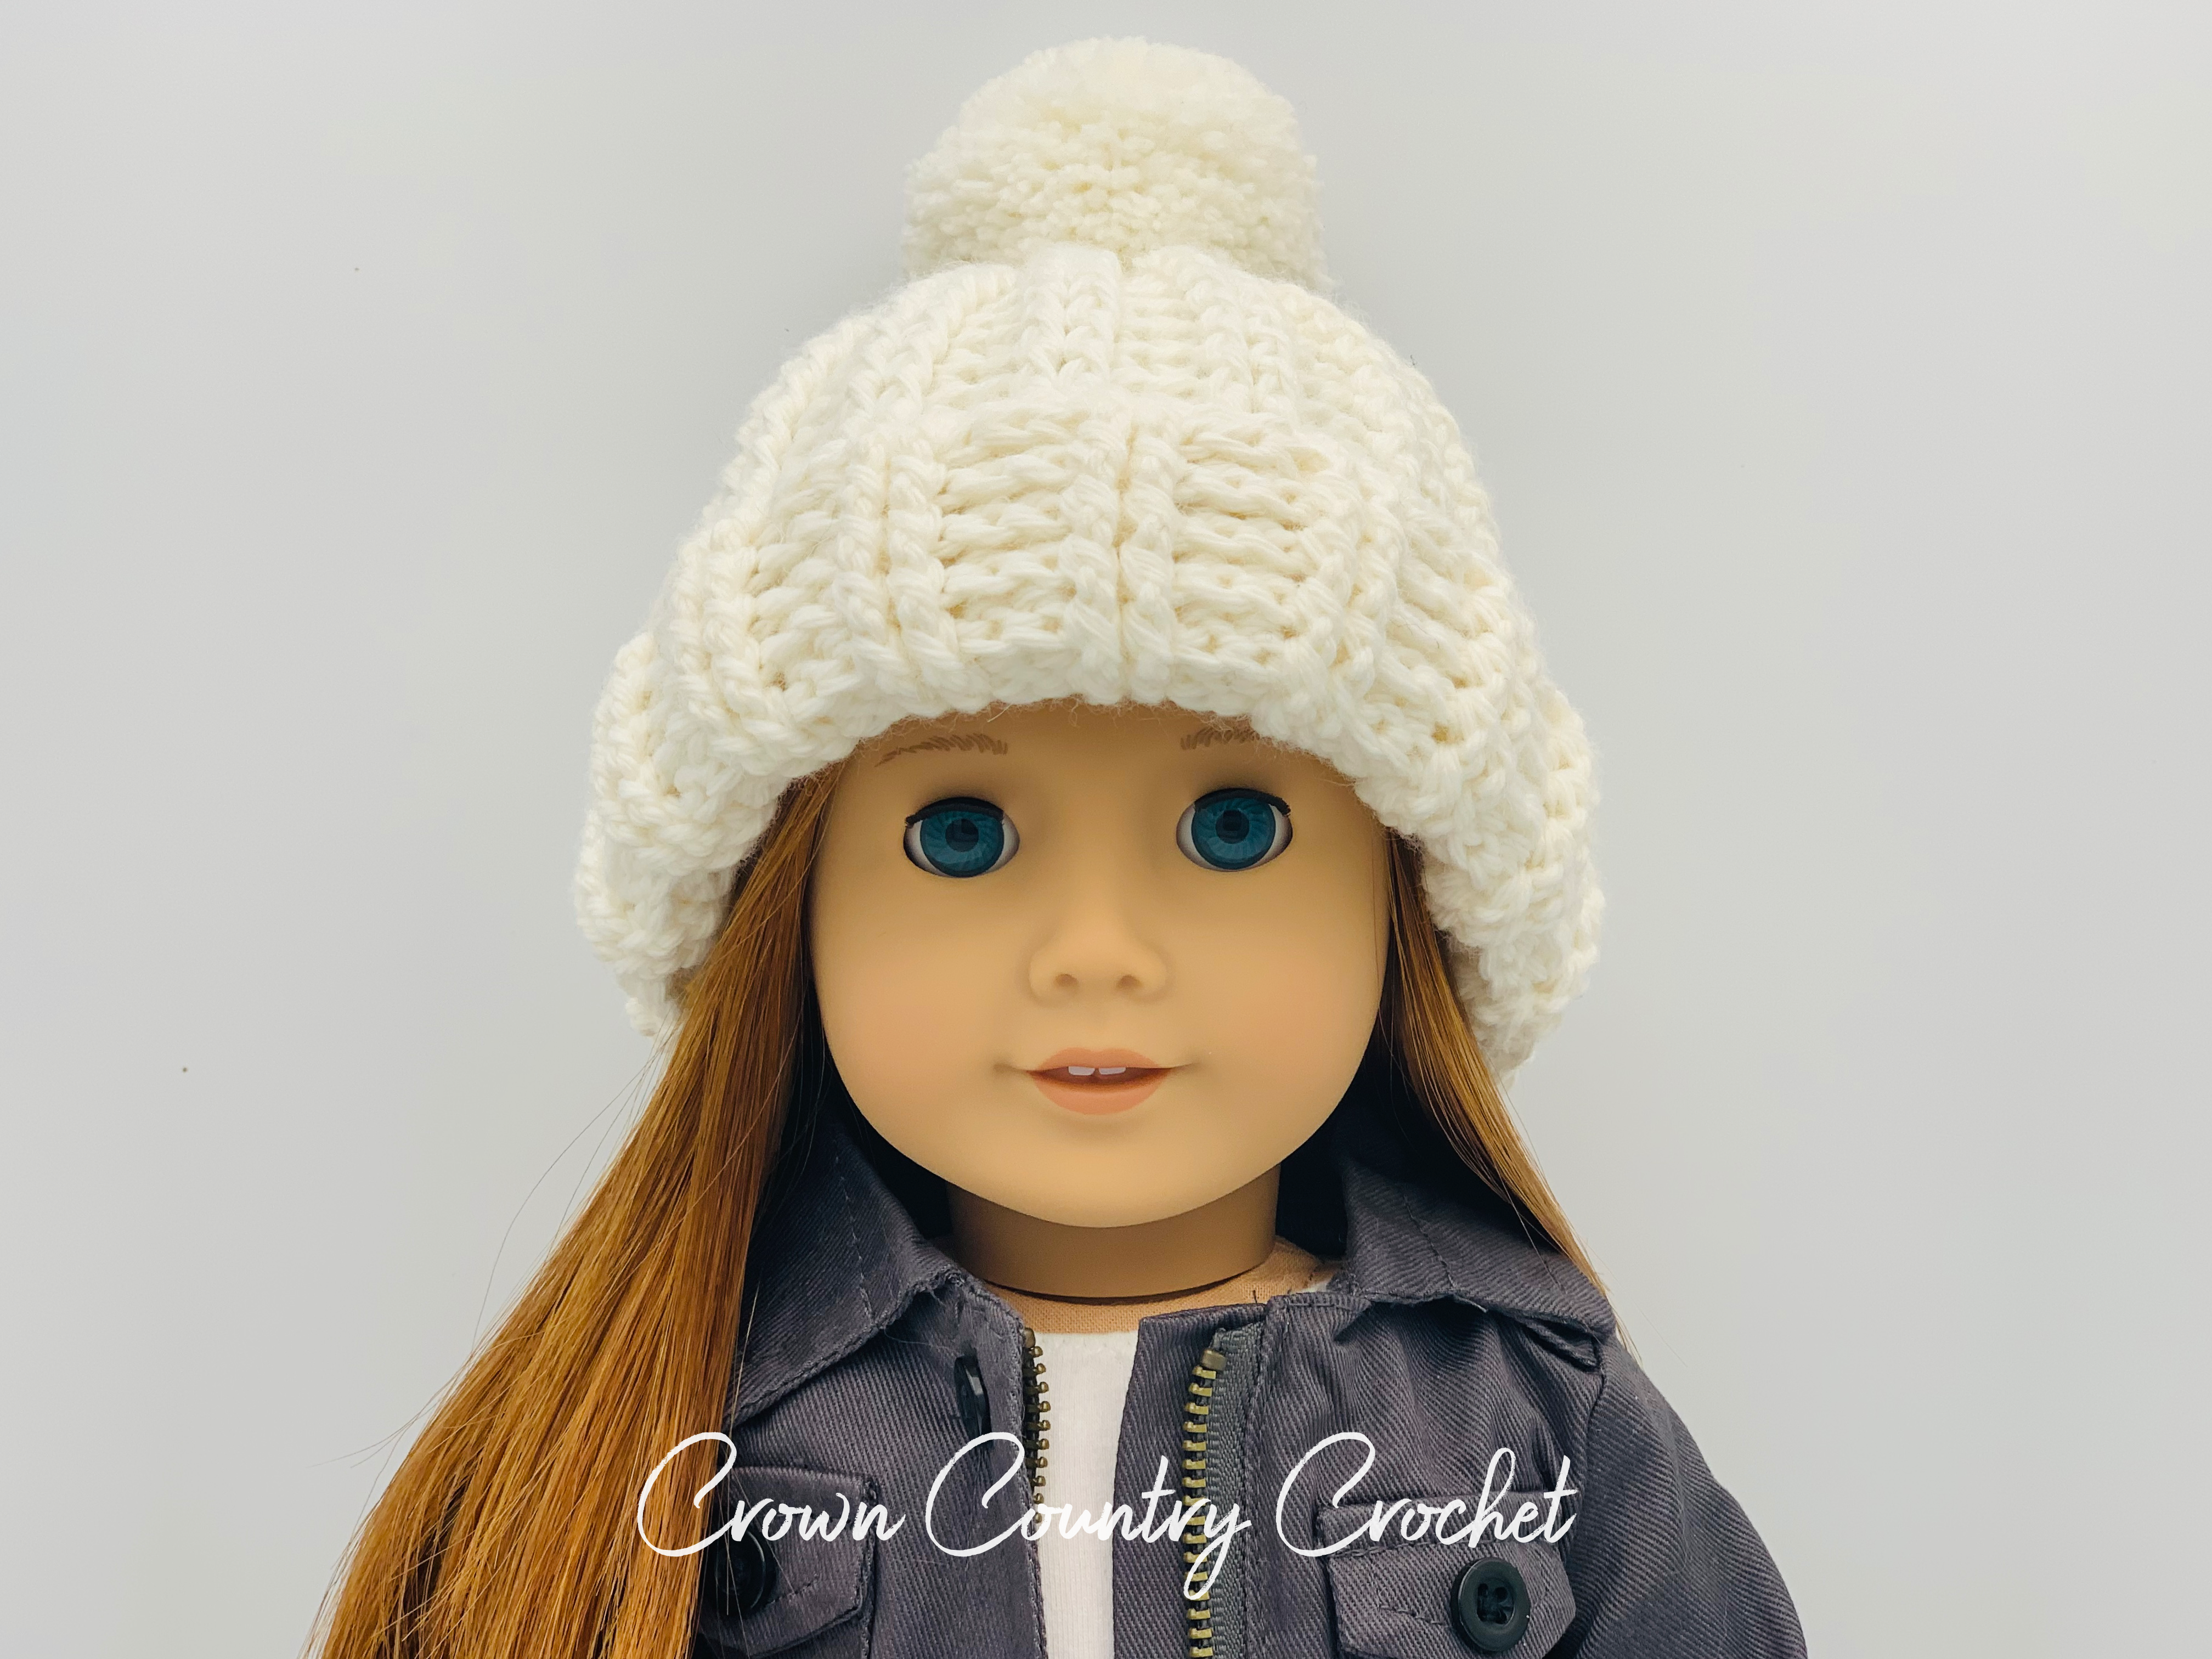
*For the free version, continue to scroll down this post.* **You can purchase the ad-free, printer-friendly version by clicking here: https://www.etsy.com/listing/879070921/pdf-crochet-pattern-18-doll-ribbed** ***To view all crochet patterns available in my store, click here: https://www.etsy.com/shop/CrownCountryCrochet*** Materials #4 Worsted Weight Yarn F (3.75 mm) hook or size needed to obtain gauge Row counter & stitch markers Yarn needle …
-
Ma’s Shawl Crochet Pattern

Inspired by the shawl Ma wears throughout the Little House on the Prairie television show, create your own shawl for your American Girl or 18″ doll. *For the free version, continue to scroll down this post* **You can purchase the ad-free, printer friendly version by clicking here: https://www.etsy.com/listing/1112582203/pdf-crochet-pattern-mas-shawl-for-18** ***To view all crochet patterns available in…
-
Courtney’s Game Room
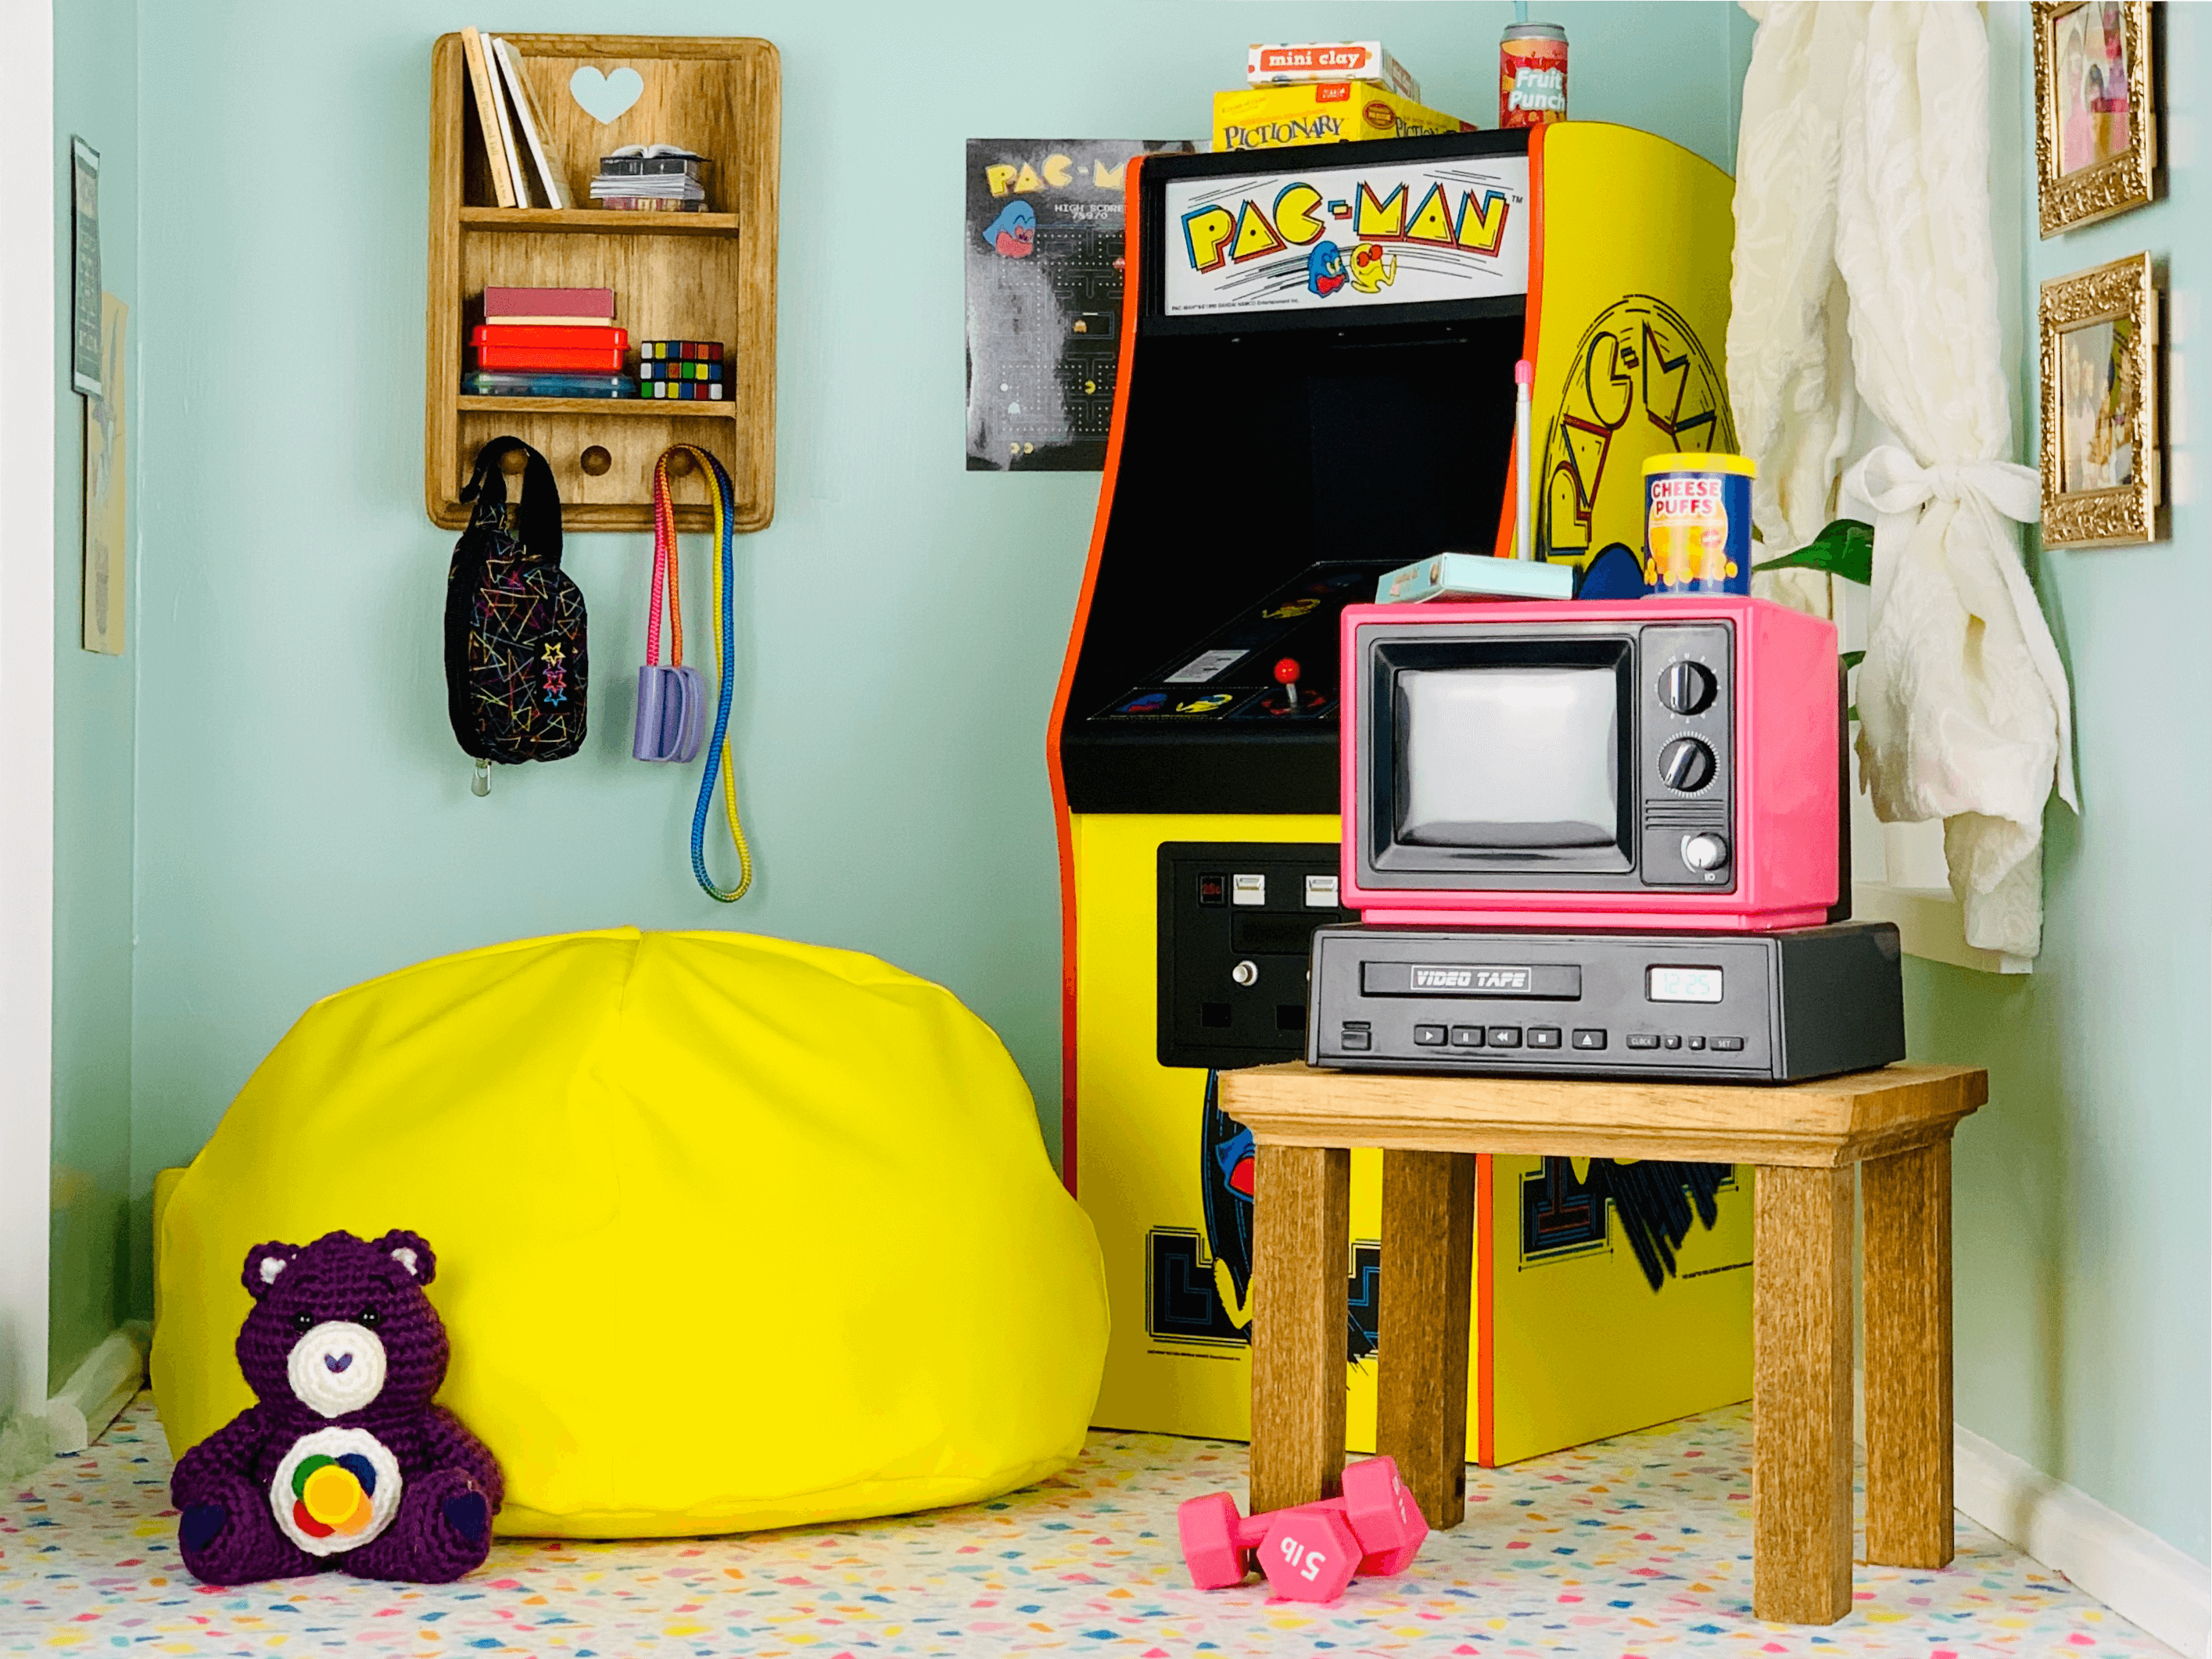
I’ve made Courtney a game room in the dollhouse to display her electronics, books and 80’s trinkets. The dollhouse that I started with is from ana-white.com and the instructions are free. Here is the link to the dollhouse instructions: https://ana-white.com/woodworking-projects/american-girl-dollhouse-fits-18-dolls. What you will need: dollhouse room paint (teal for walls and white for trim) fabric…
-
Halloween Pumpkin Sweater Crochet Pattern for American Girl and 18″ Dolls

*For the free version, continue to scroll down this post* **You can purchase the ad-free, printer friendly version by clicking here: https://www.etsy.com/listing/876443544/pdf-crochet-pattern-halloween-pumpkin?ref=shop_home_active_5** ***To view all crochet patterns available in my store, click here: https://www.etsy.com/shop/CrownCountryCrochet*** Materials ● #4 Worsted Weight Yarn ● F (3.75 mm) hook or size needed to obtain gauge ● ½” diameter buttons…